
Microsoft Excel is very popular because of its ability to filter and add charts and many other features. The majority of people have some experience with spreadsheet software like Microsoft Excel.
When you deal with your call information on your voice platforms, you might want a special report or chart that you can’t find on PBXDom or other systems like that. We already have an export feature for any reports you can get on PBXDom, and you can use it for Microsoft Excel or Google Sheets. But today, I want to show you a different approach to achieve the always-ready datasheet by integrating PBXDom with some other services, like Google Sheets and Zapier.
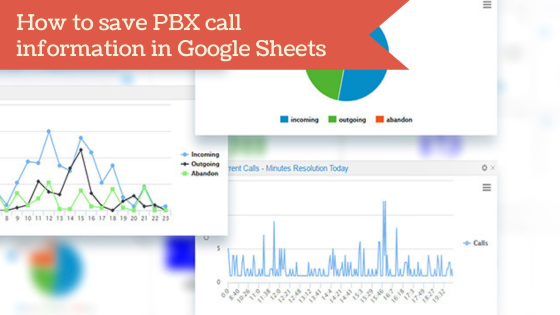
In this article, I want to show you How to automatically save PBX call information in Google Sheets. We use Zapier for that. Let’s start.
Step 1:
First, you should sign up for Zapier on the following page:
Step 2:
Click on this invitation link to access PBXDom’s integration with Zapier.
https://zapier.com/developer/invite/40874/ad3a0f05b01644d456e3c012851a265e/
The window will look like this to you:
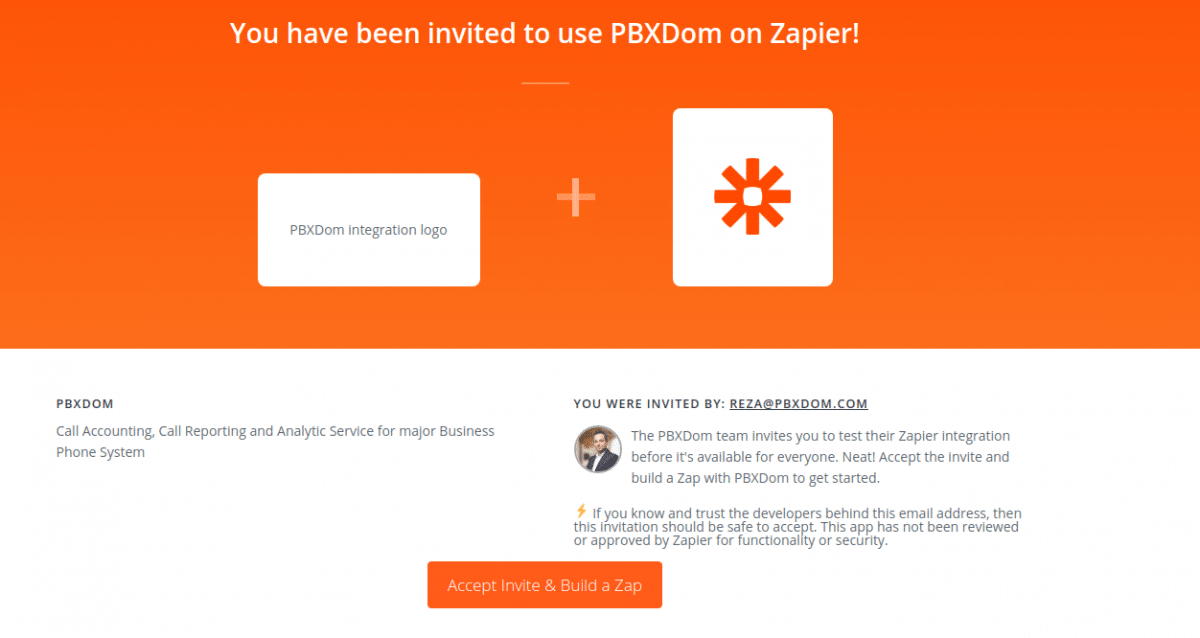
To continue, you should click on “Accept Invite & Build a Zap.”
Step 3:
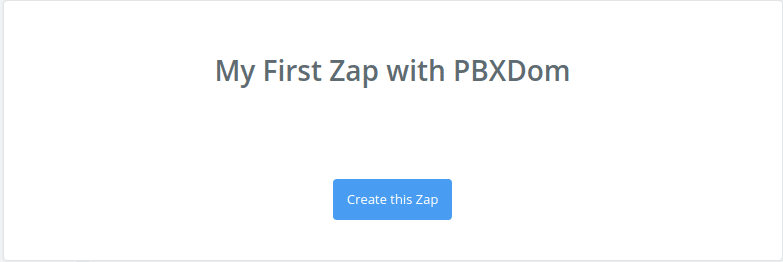
On the next screen, click on the “Create this Zap” button.
Step4:
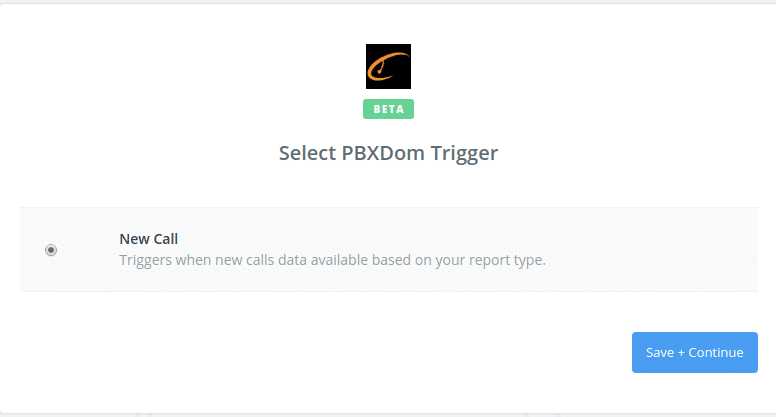
On the next window, you should choose the trigger because, at the moment, we only have one trigger on PBXDom; it’s selected by default. Then, click on the “Save+Continue” button.
Step 5:
On the next window, you will connect your PBXDom account to this Zap. So, click on the “Connect an Account” button.
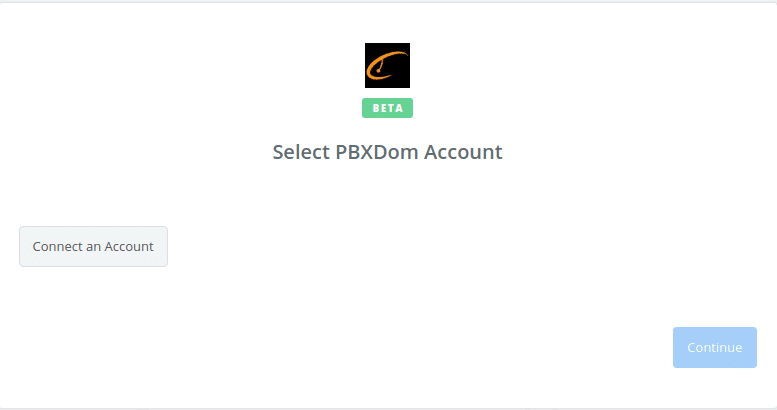
When you click on that button, the new popup that opens will ask for your PBXDom API key.
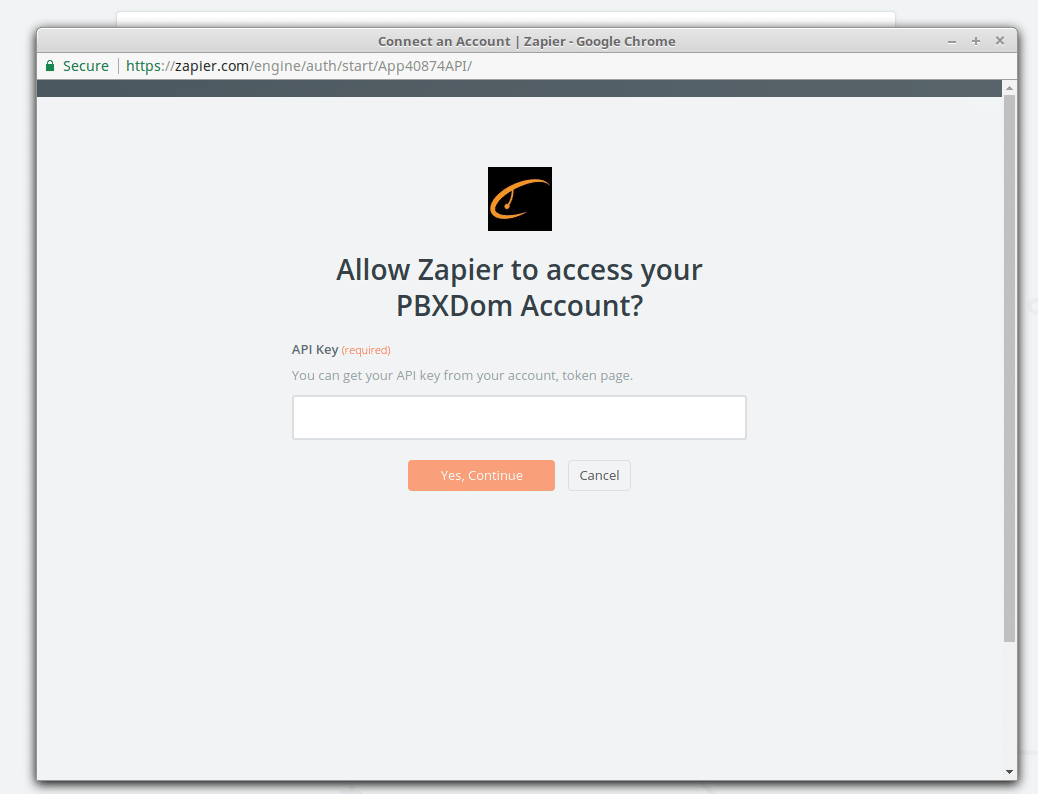
For access to your PBXDom API key, log in to your PBXDom account and go to the “Account > API Key” tab.

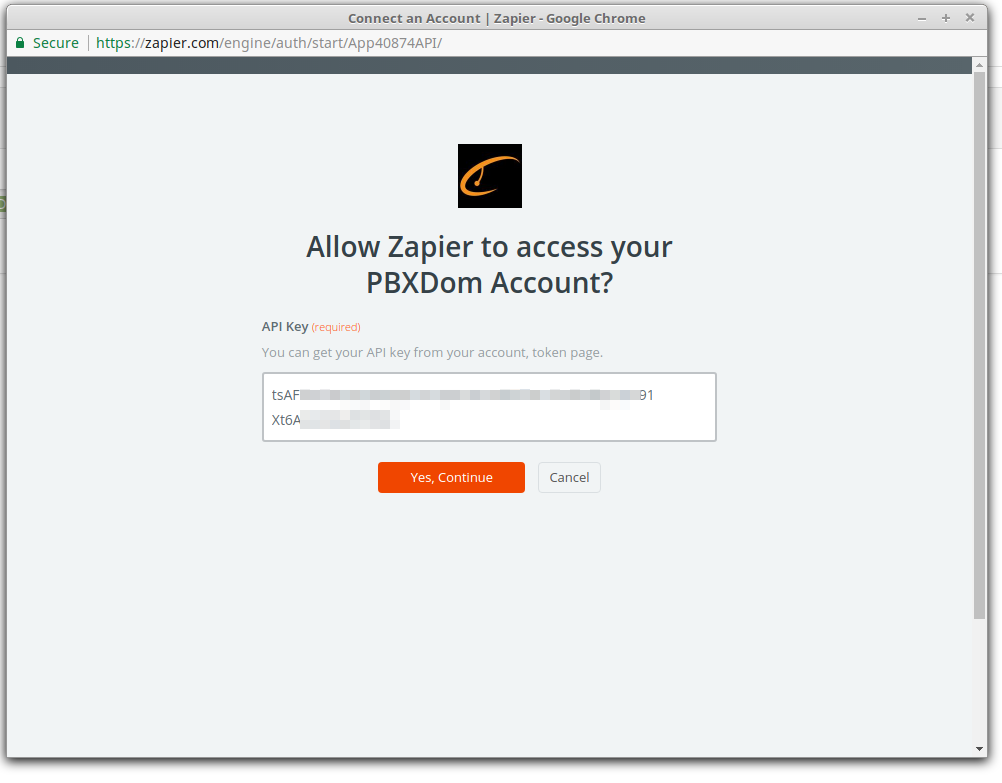
Create and copy your API key, paste it on the Zapier connect window, then click on the “Yes, continue” button.
Step 6:
If your PBXDom API key is correct, the popup automatically closes, and you return to the previous window, like this:
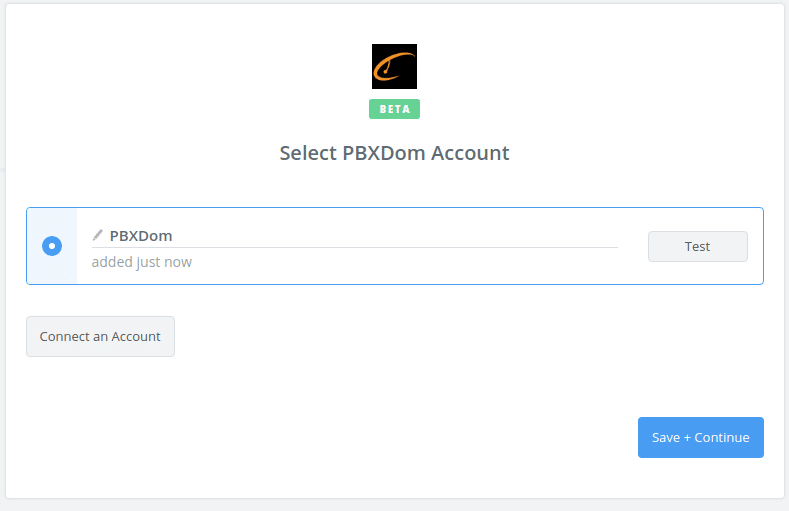
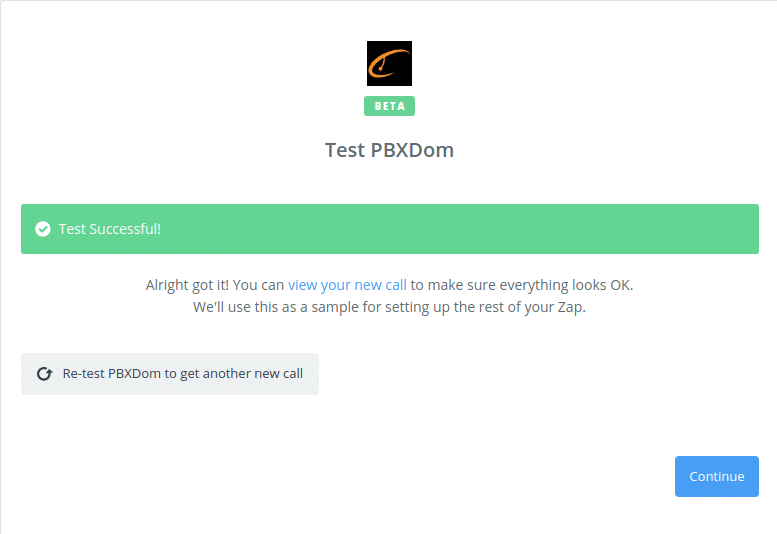
To make sure your PBXDom account correctly connects to Zapier, click on the “Test” button. If everything’s OK and your Zapier account can successfully handshake with PBXDom API,
you will receive a success message like this:
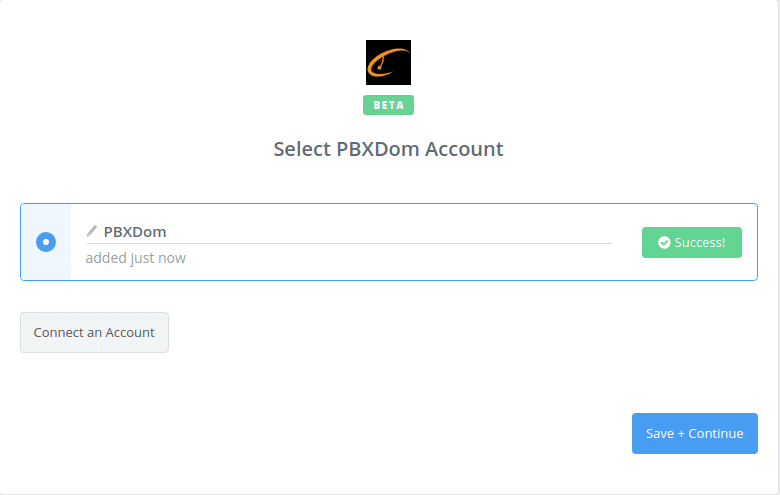
Now, it’s time to click on the “Save+Continue” button for the next step.
Step 7:
On the next window, we should set up a trigger. It means we select which type of call data from PBXDom, we want to add to Google Sheets automatically.
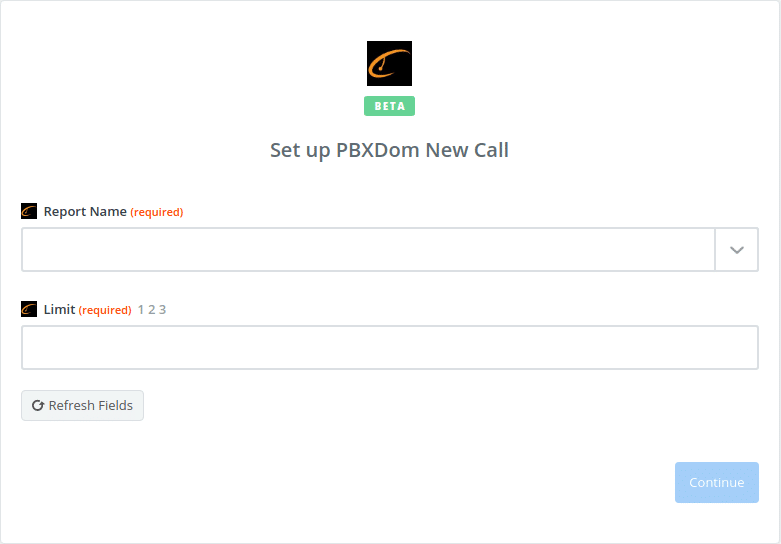
In this article, I want to include all call types into my Google Sheets, so I select “Call history” report and enter 500 in the limit field. The limit field value means each time this zap runs; this is how many records are retrieved from your PBXDom account and put into your Google Sheets. The value can be from 1 to 10,000. It means only new records not inserted before into your Google Sheets.
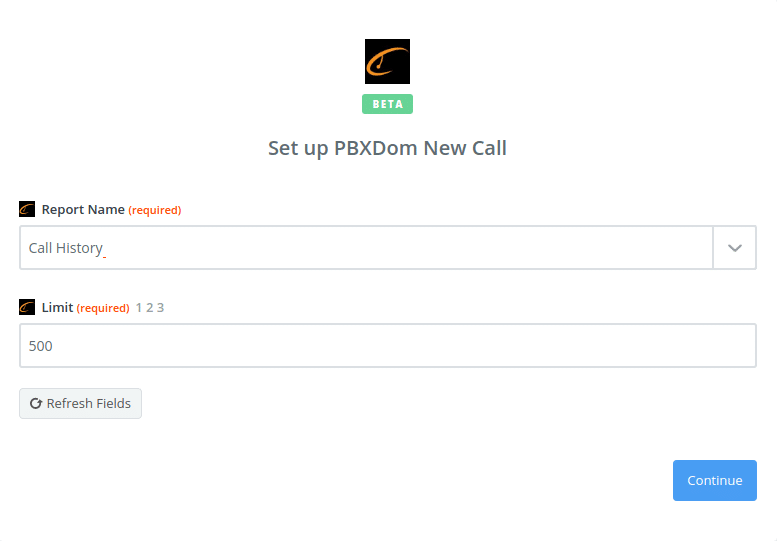
Click on the “Continue” button for the next step.
Step 8:
In this step, we should test our settings and the connection between Zapier and PBXDom.
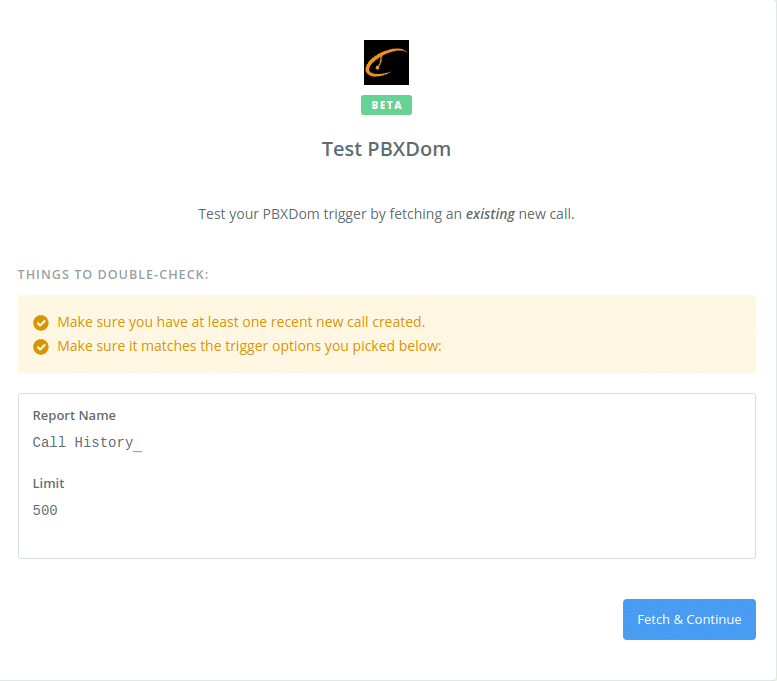
For the test, click on the “Fetch & Continue” button. Make sure you have enough call information for today. This process always fetches today’s calls.
If everything is OK, you should see a window like the one above; to make sure, click on the “view your new call” link to see the retrieved data from your PBXDom account.
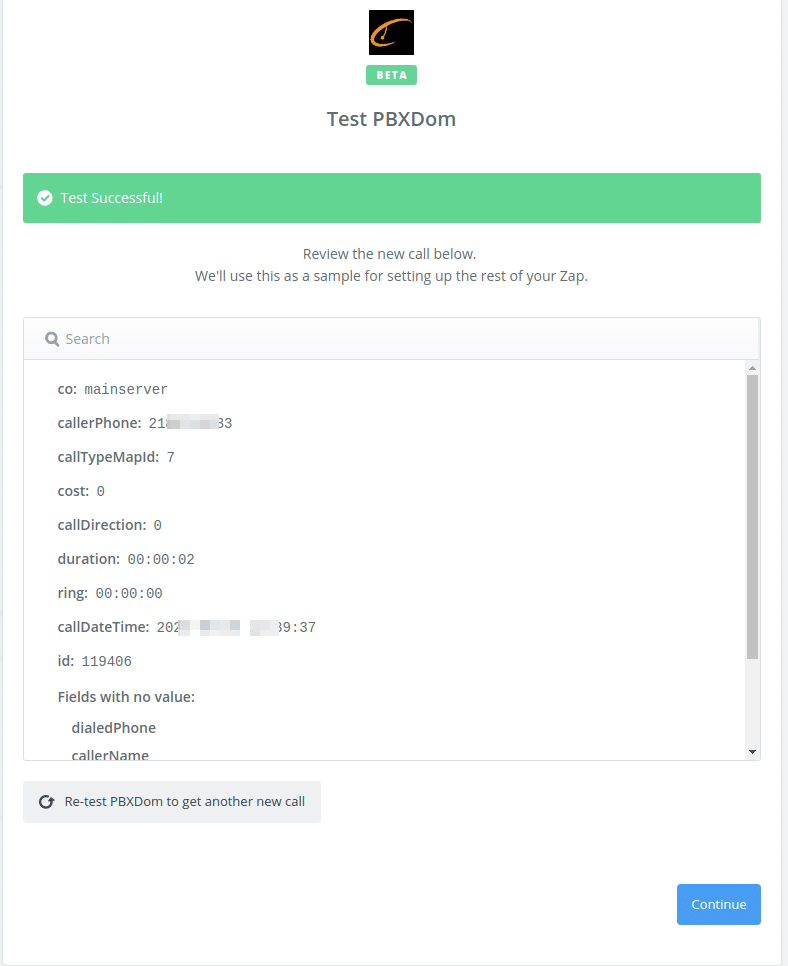
In the above picture, you can see some of your call information to make sure everything is going well. Click on the “Continue” button for the next step.
Step 9:
In the previous steps, we connected and tested Zapier with our PBXDom account. Now we should add the action. Action means what Zapier does with the data that it retrieves from PBXDom.
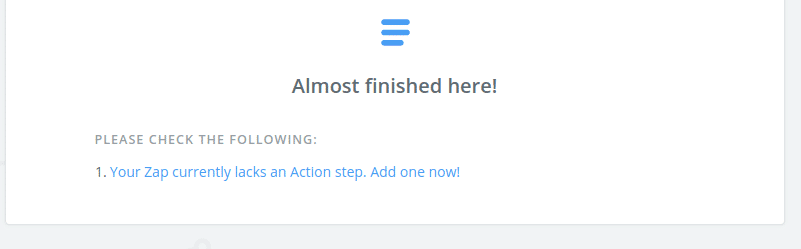
To add the action, click on the “Add one now” link.
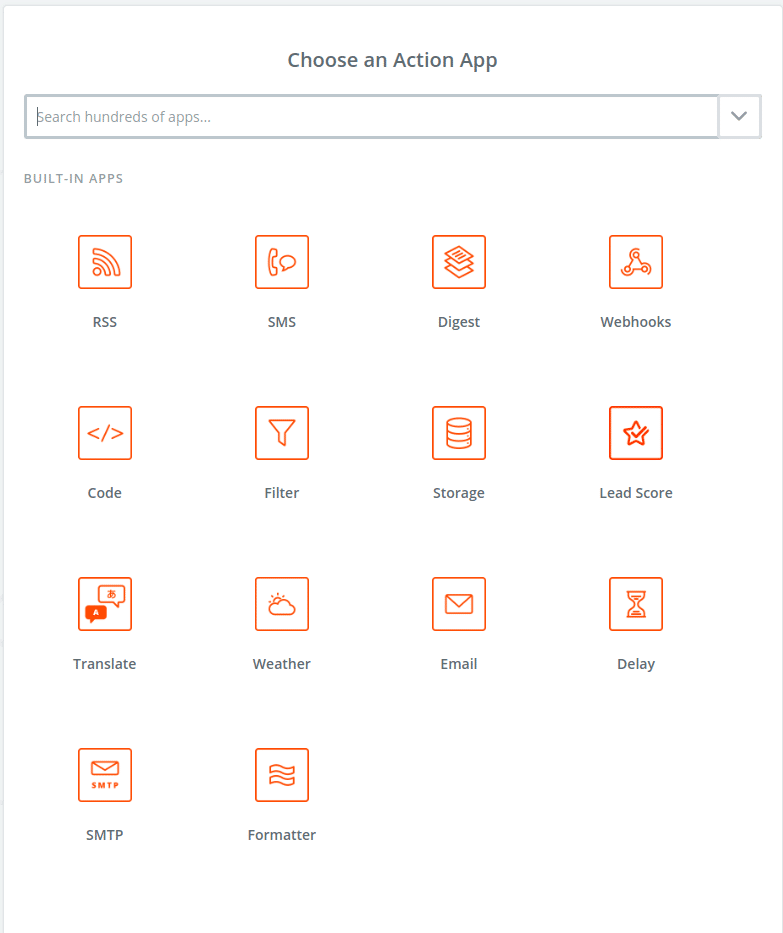
In this window, we should search the Google Sheet.
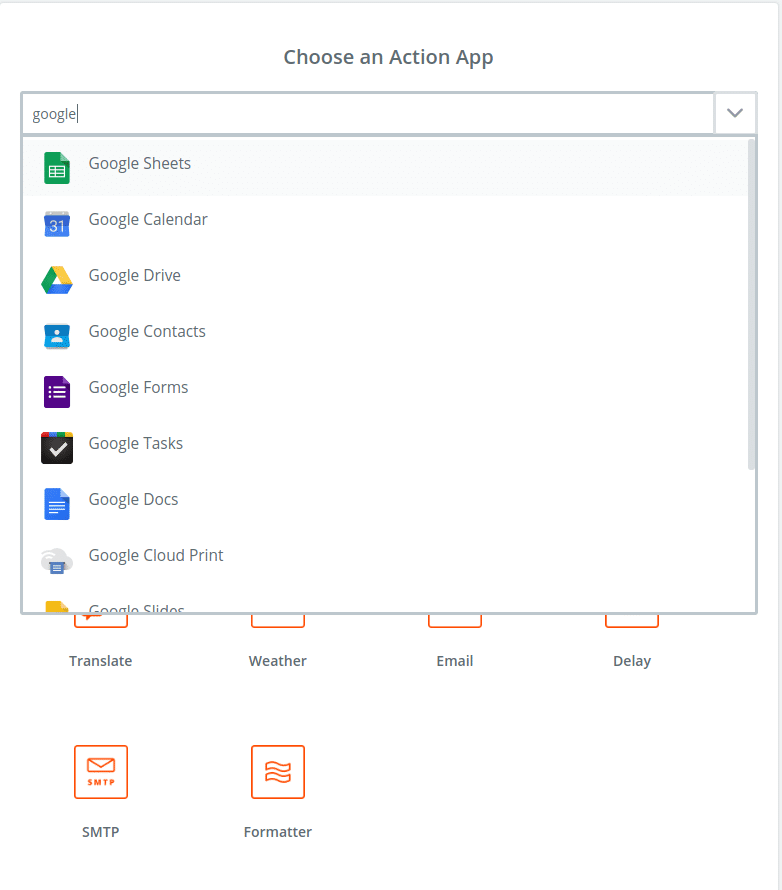
Click on Google Sheets, and a window like this will appear.
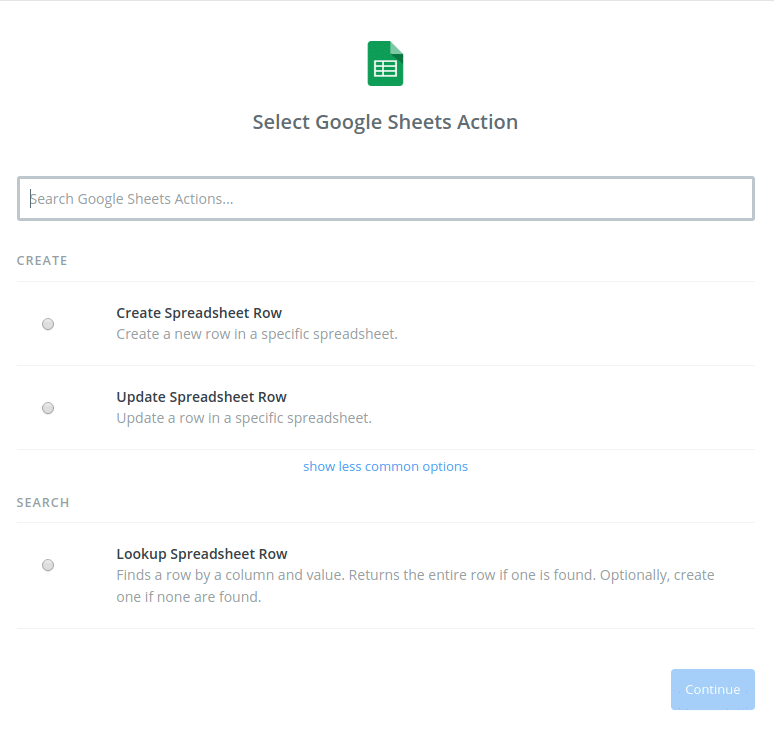
We should select “Create Spreadsheet Row” and then click on the “Continue” button for the next step.
Step 10:
Now, it’s time to connect your Google Sheets account with Zapier.
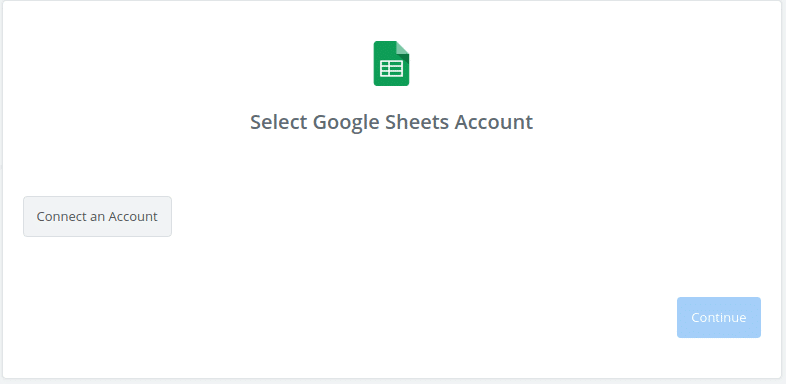
To connect your Google Sheets account, click on the “Connect an Account” button.
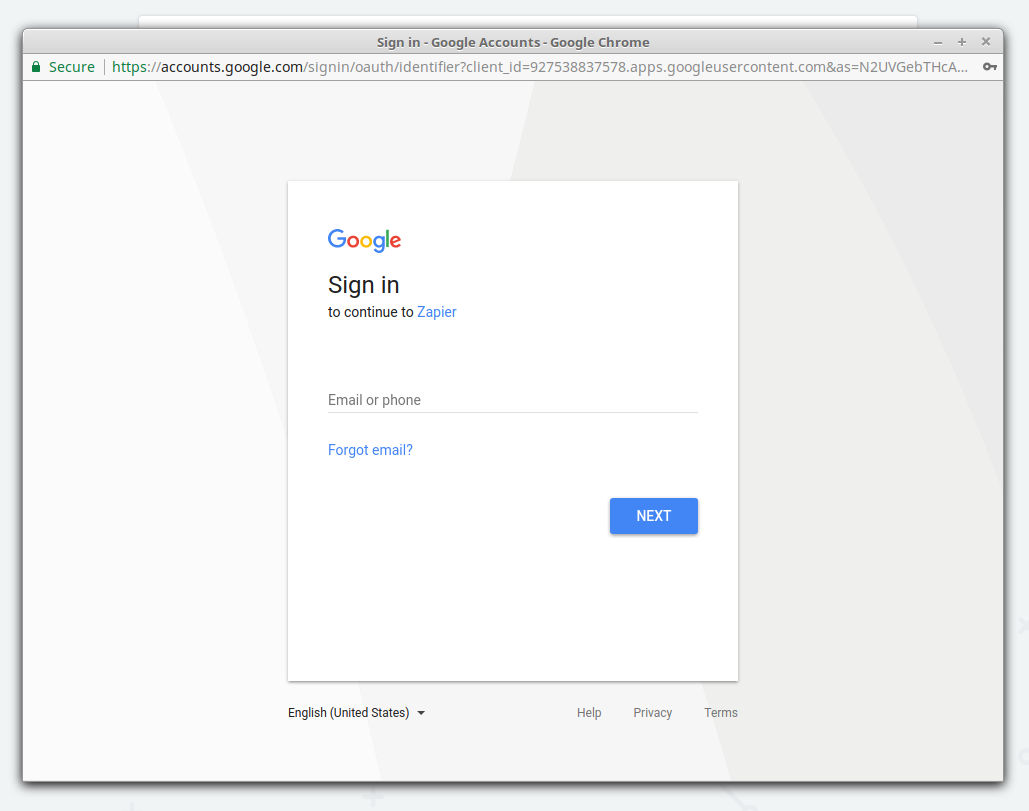
In the above window, you should sign in to your Google account.
If you entered the right credentials for your Google account, you should see the following window:
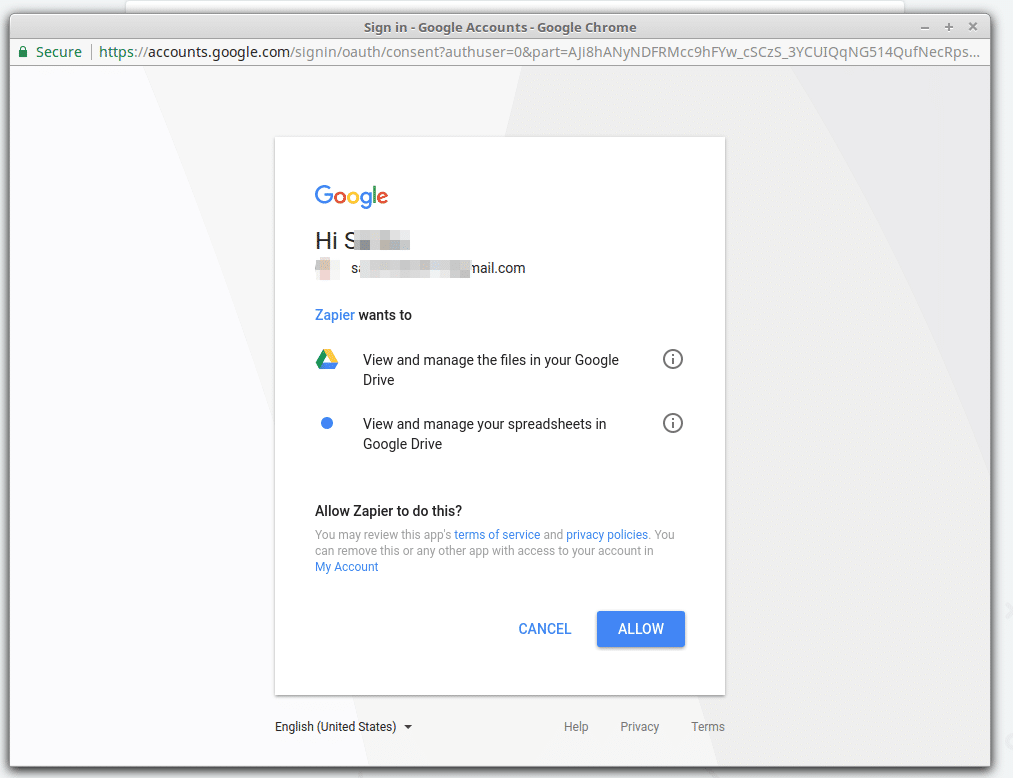
In the above window, Google asks you about the permissions that Zapier wants. You should click on the “Allow” button to continue.
Step 11:
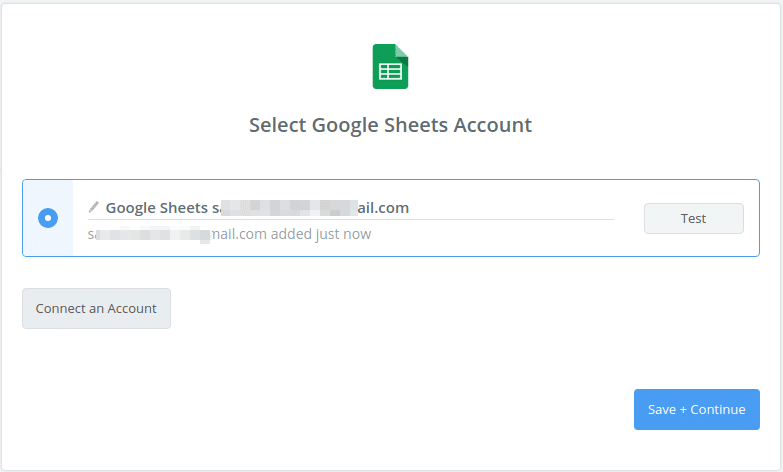
When your Google Sheets account is connected successfully, the popup window closes, and you see results like the above picture.
To make sure your Google Sheets account has connected successfully, click on the “Test” button. You should see a success message like this:
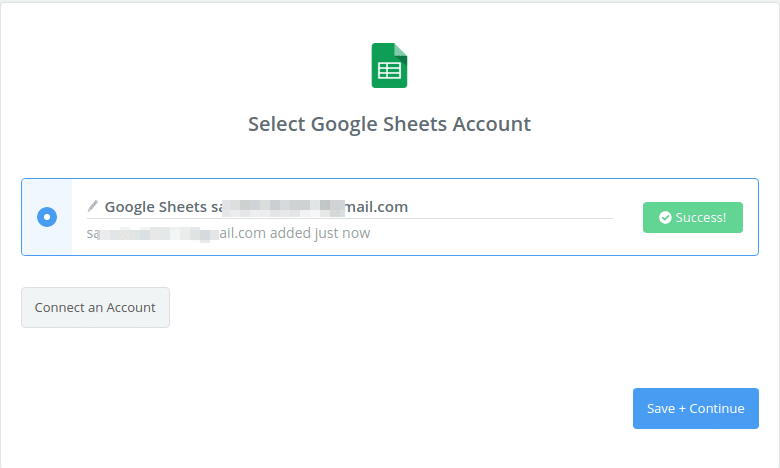
Click on the “Save+Continue” button for the next step.
Step 12:
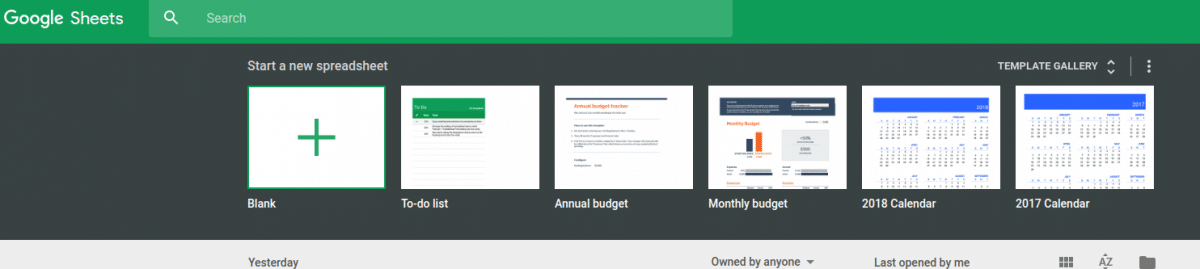
In this step, we should create a new Google Sheet for inserting the call information. So, I signed into my Google Sheets account and clicked on Blank Sheet to create the new sheet.
In order, add the name of the new sheet:
Click on the Untitled spreadsheet at the top of the page and enter a name.
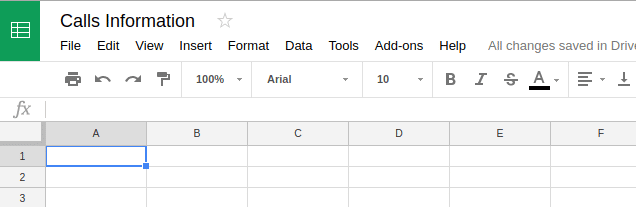
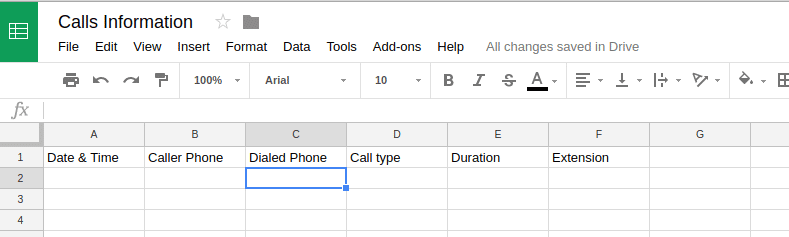
I entered “Call Information” for the sheet and pressed the Enter key to save that. Add the header in the first row like in this picture.
Save the sheet. Now we should go back to the Zapier window to continue.
Step 13:
In this step, we should select the sheet we created in the previous step.
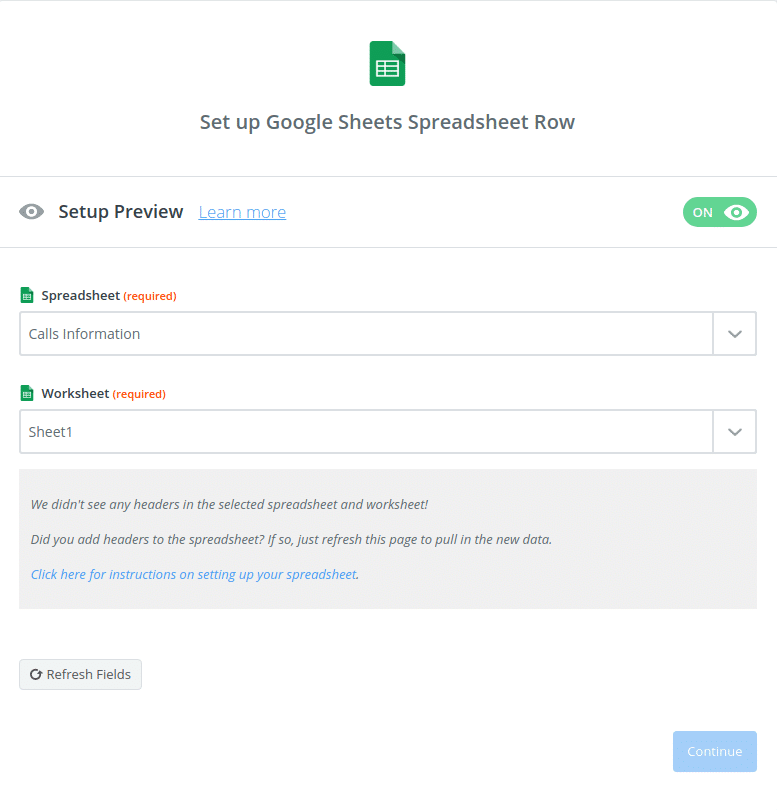
I selected the “Call Information” spreadsheet, then selected “Sheet1”; the header field shows automatically after I select “Sheet1”, like in this picture.
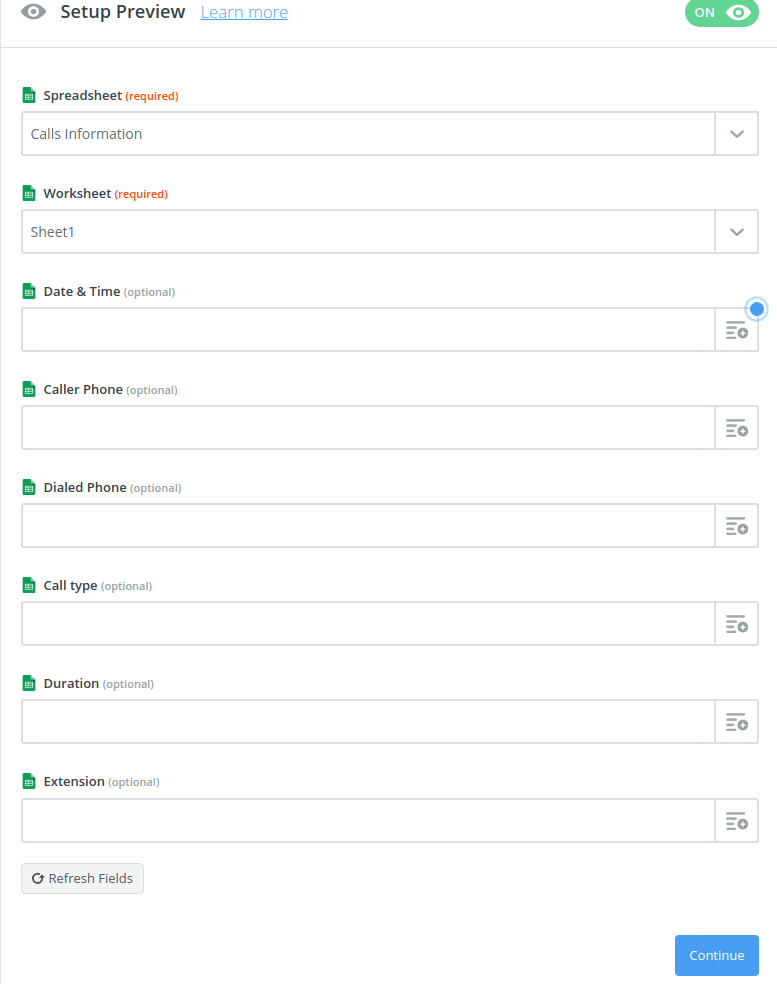
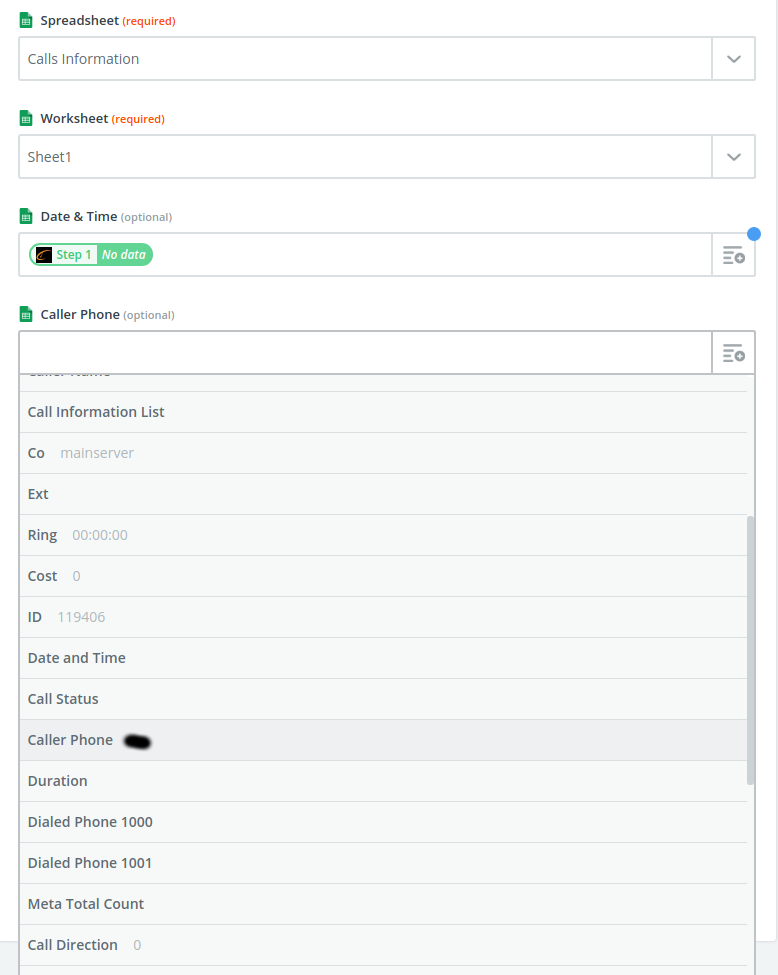
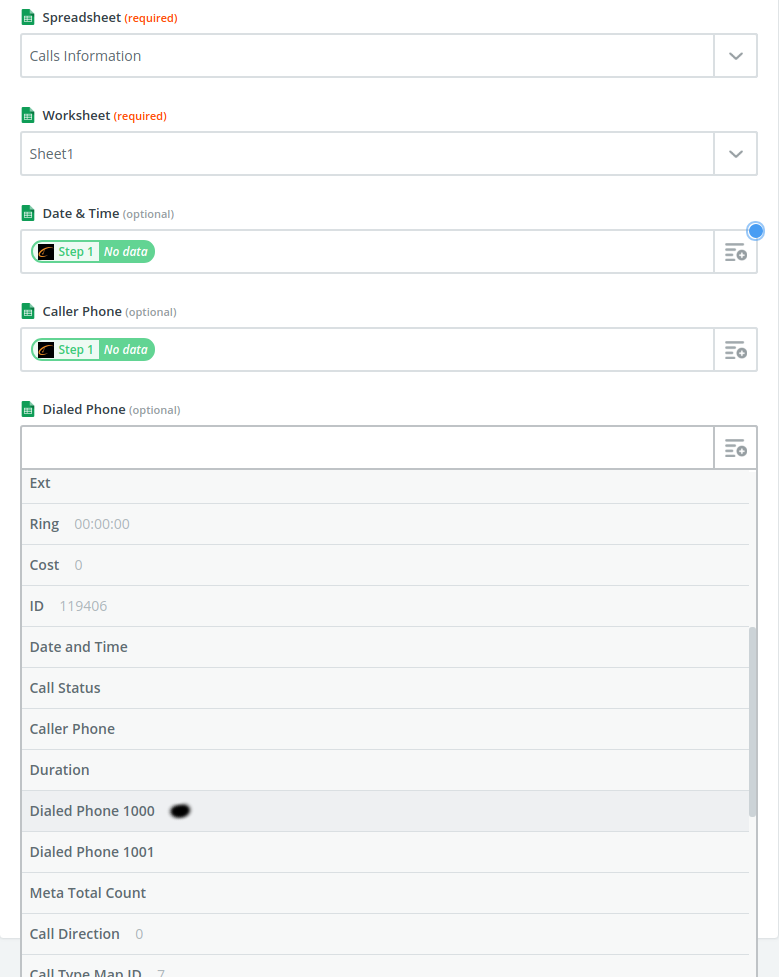
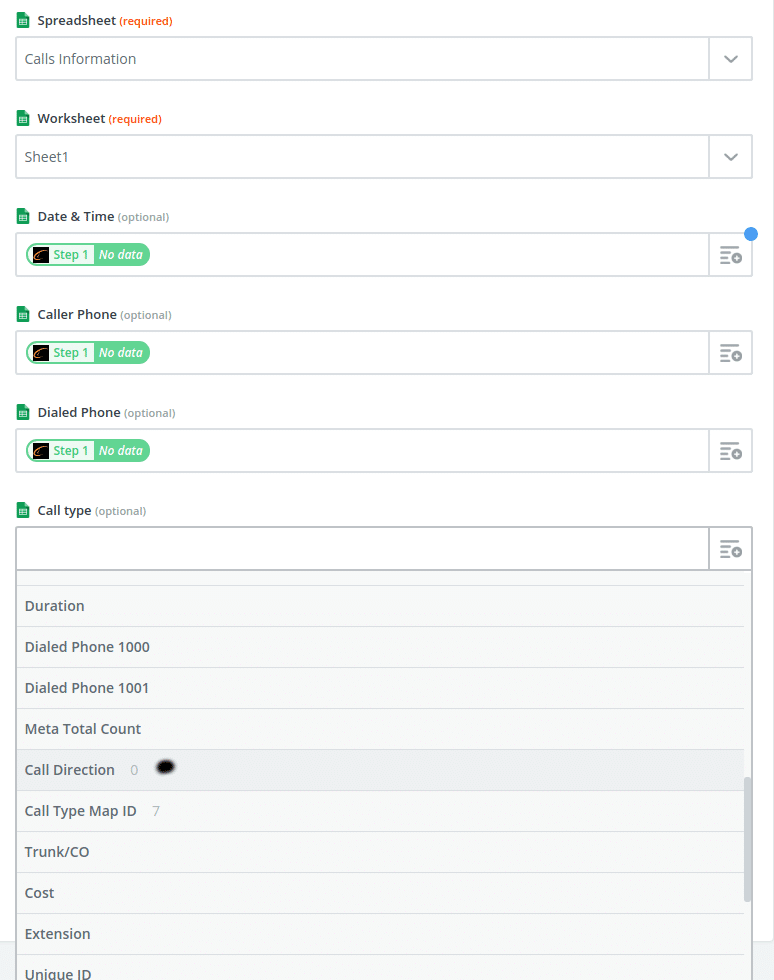
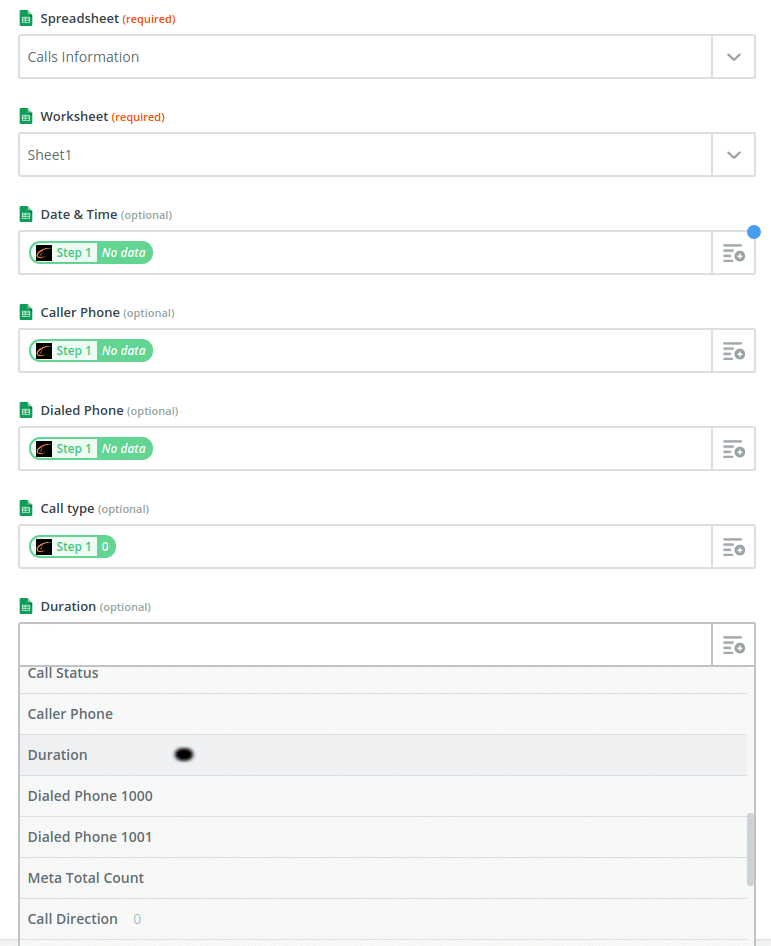
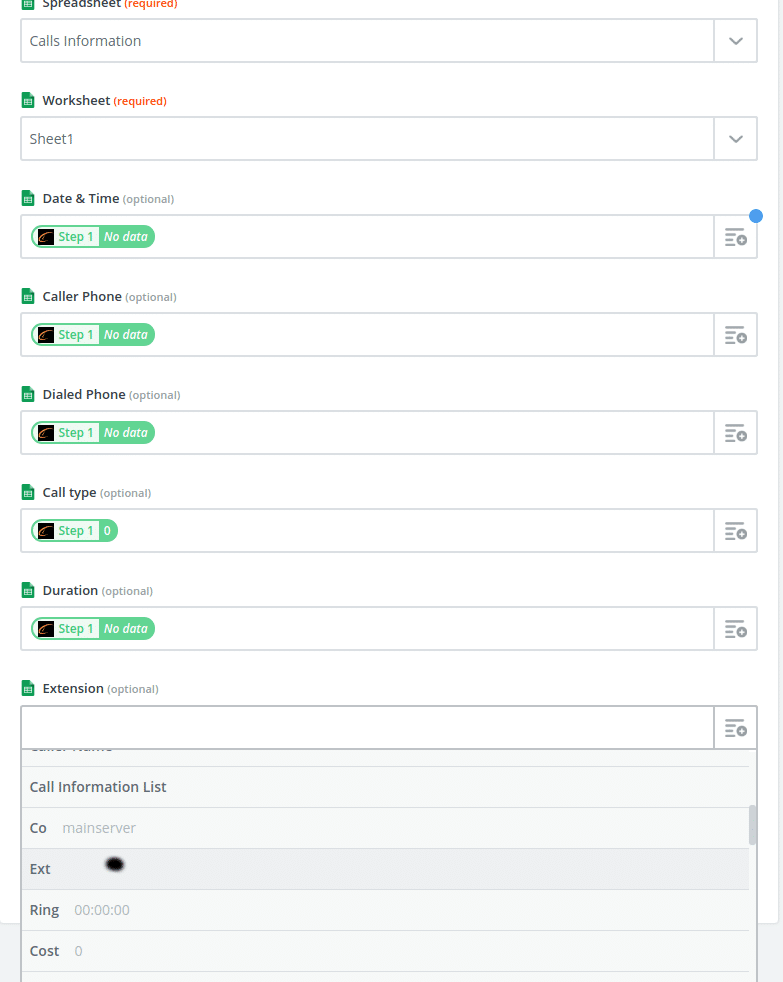
We should map each header with the related field from call information from PBXDom.
I do that like this:
Date & Time field
Caller Phone field
Dialed Phone field
Call Type field
Call Duration field
Call Extension field
When you’ve mapped all fields, recheck all of them and click on the “Continue” button for the next step.
Step 14:
In this step, we should test that Zapier can communicate and send test rows into your Google Sheets.
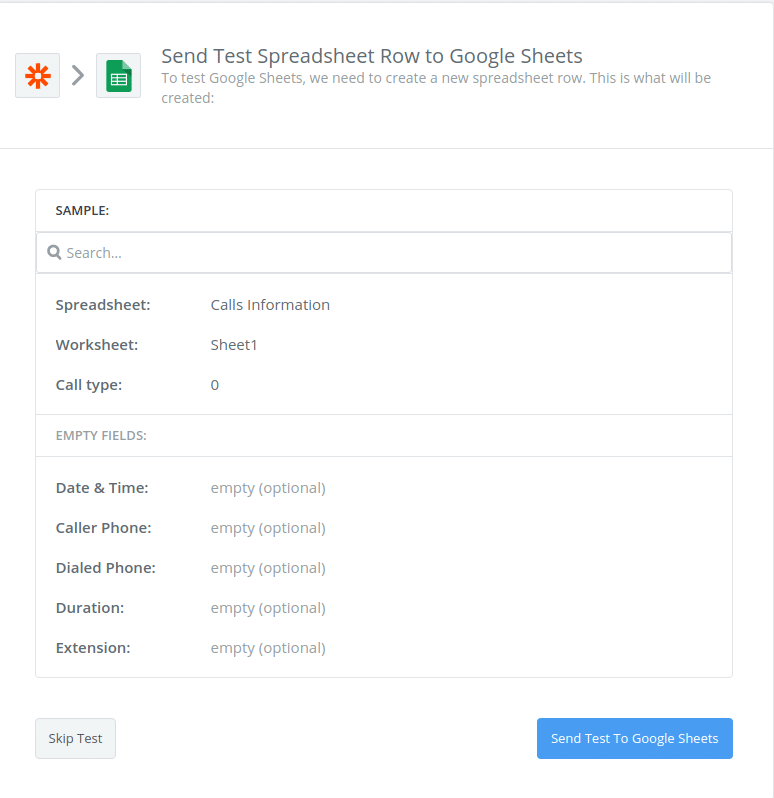
To start the test, click on “Send Test to Google Sheet” data.
If the test result is successful, you should see a window like this picture:
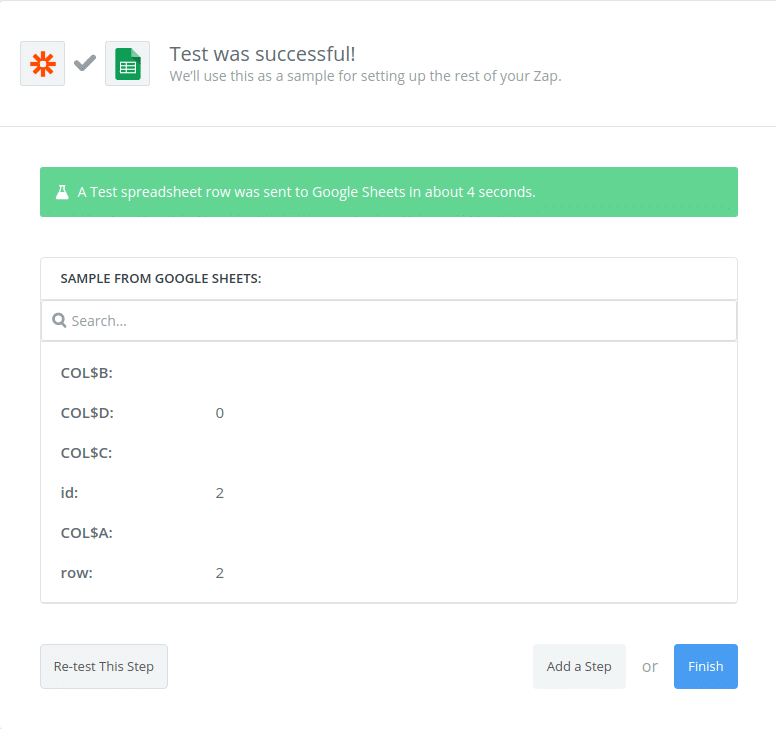
To make sure everything is OK, go back to your sheet on Google, and you should see one free row added, with the call type 0. Click on the “Finish” button to go to the next step.
Step 15:
Congratulations! Your Zap was created successfully. Each time this Zap runs, the new call information will automatically be added from your PBXDom account into your Google Sheet.
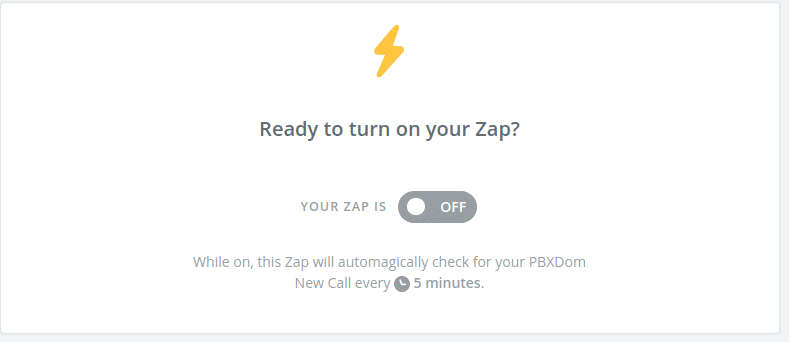
By default, Zap automatically runs every 5 minutes and, if any new call information is found, retrieves all of them and inserts them at the end of your Google Sheets.
Now, change the “OFF” button to “ON” to start your Zap.
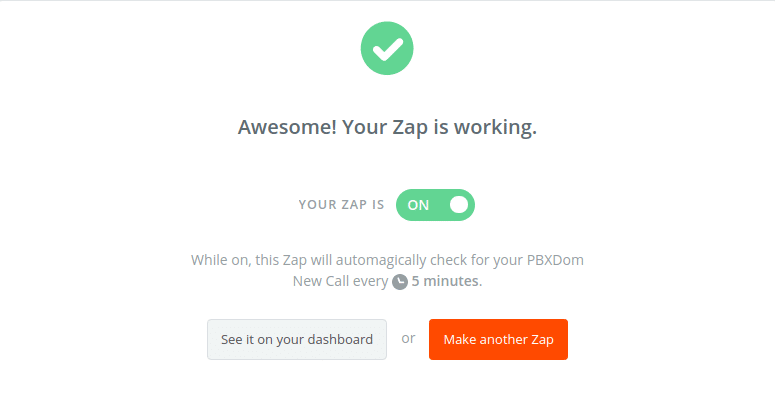
Great! That’s all.
From now on, every 5 minutes, Zap runs and first connects to your PBXDom API and fetches new call information from your account; if any calls are found, then it connects to your Google Sheets account and inserts the new call information at the end of your sheet. So, you always have up-to-date sheets from your calls.
For example, you can have different sheets for each month/year based on your call volume.
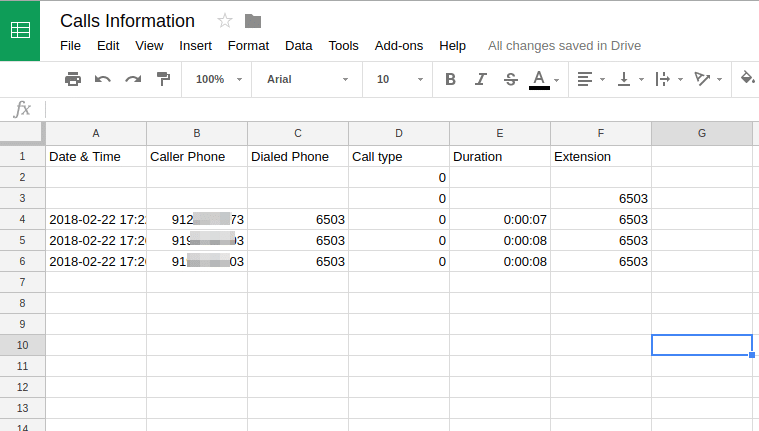
Example of data inserted from PBXDom automatically.
Now, you’re free to export your Google Sheets to Microsoft Excel, use it in Microsoft Excel, or draw graphs or analyze it on Google Sheets.
Today, Google Sheets has become more popular, and many people switch from Microsoft Excel to Google Sheets. Google Sheets has many features, and you can use them to make your life easier with your data.
Finally, I hope this article will help you increase your ability to make any necessary reports or charts from your call information.