
I have been using Amazon RDS MySQL for several years in many projects. One of the best points of using AWS RDS instead of running your instance on EC2 is maintenance and easy management. RDS Multi-AZ is an outstanding feature in RDS; when you run an instance with the Multi-AZ option, RDS automatically creates another instance in another Availability Zone and automatically replicates between them.
If the main instance encounters any problems or errors, you and your customer will not feel any service disruption as traffic will automatically be redirected to another instance until the master instance is recovered successfully.
Also, Multi-AZ features are handy when you want to upgrade your instance type (hardware resource).
In this article, I want to talk about increasing your capacity when your business grows.
You have two options in RDS:
Option 1:
Increase your instance type ( CPU, RAM, etc. ..)
Option 2:
Add Multi instances and divide the traffic between instances.
You can easily create a read replicate instance from the master instance with just a few clicks in the RDS service.
But after you create read replicate instances, what you need to do is divide traffic between them.
The available solution is to use a proxy such as HAProxy, which is very popular.
But there is also a simpler solution;
Step 1:
Create a read replication from your master instance by clicking on your action menu in RDS.
Step 2:
Click on Create Read Replica on Action Menu.
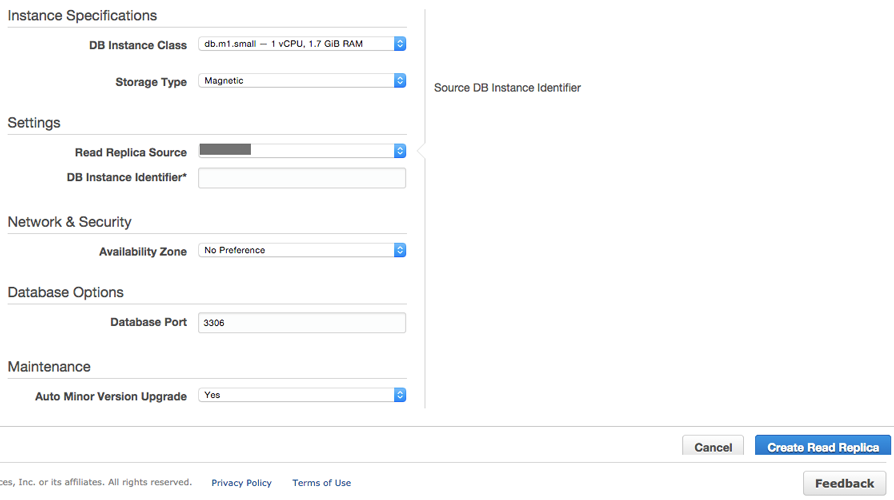
Step 3:
fill and select your instance type and source of replication (source must be your master DB instance)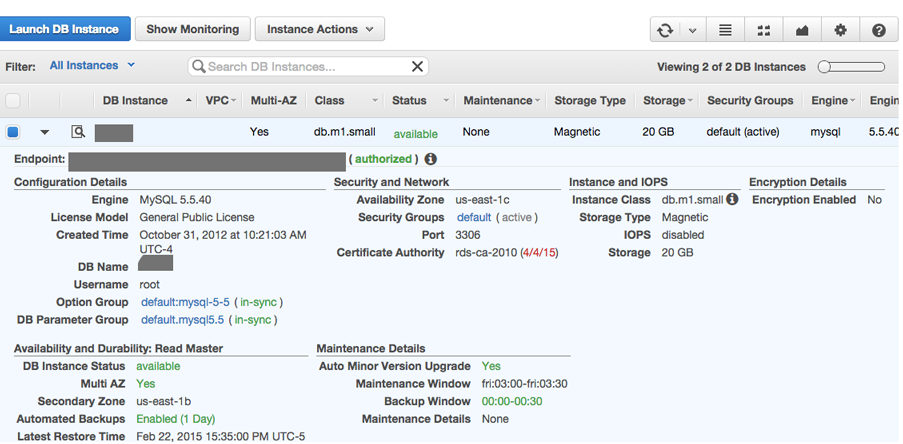
Step 4:
Check that the instance has been created and is working.
After a few minutes, your read replica becomes available for reading (read-only), and you can use it. To check that everything is ok we connect to the instance with the user and password to the endpoint of the new instance. If you can connect to the new instance and everything is ok, we go forward to the next step.
Step 5:
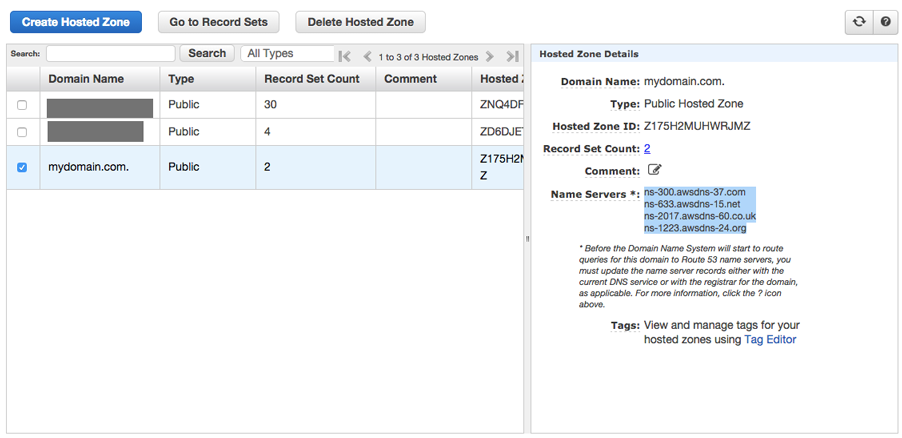
Now go to Amazon Route 53 service.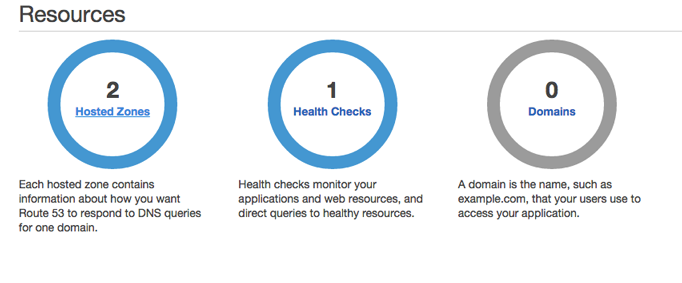
Step 6 :
It would help if you had a domain name hosted DNS in Route 53 service.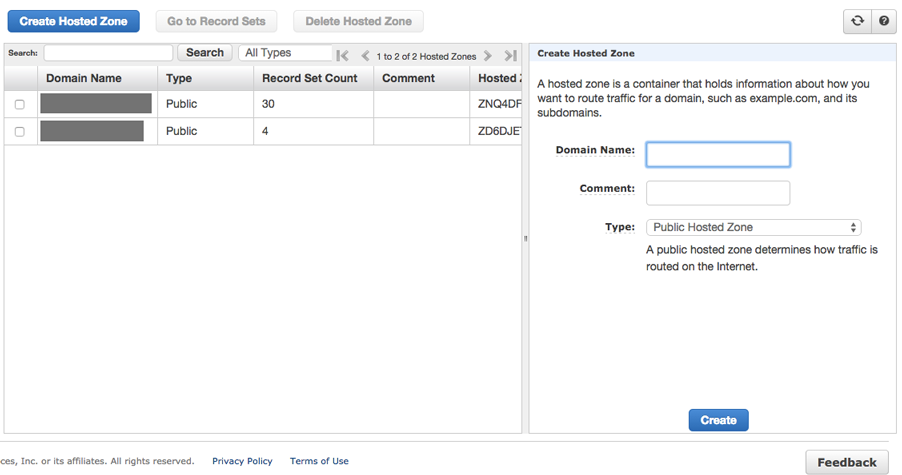
Step 7 :
Create a zone and set DNS in your domain. Also, add another record for web or related service for your service as a normal DNS service.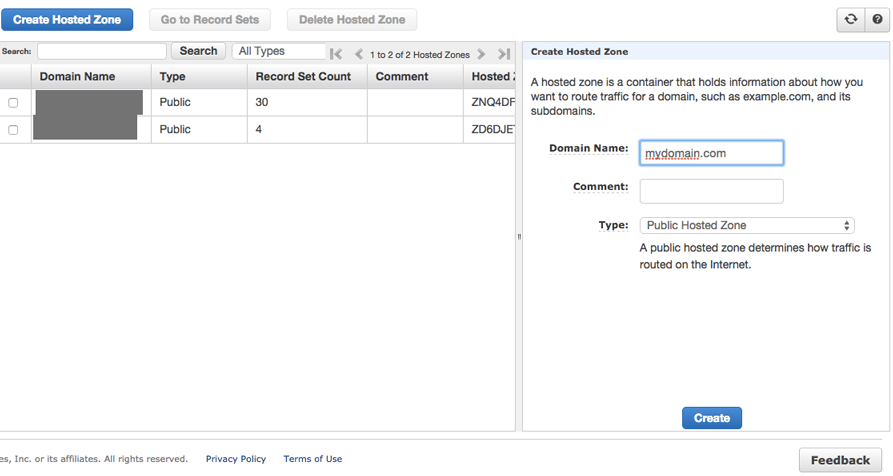
Step 8:
Add a CNAME record to your domain and set name to db.mydomain.com and TTL to 1 second and select routing policy to weighted and fill weight to 1 and set ID to master.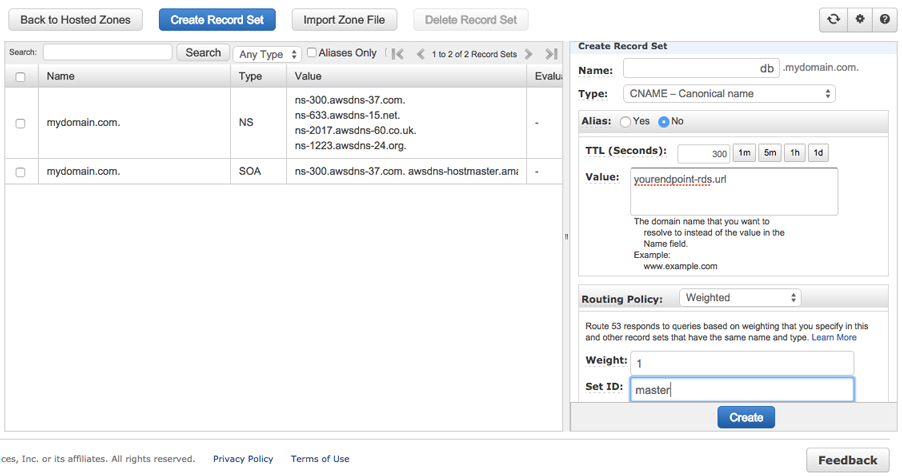
Step 9:
Add another CNAME record to your domain and set name to db.mydomain.com and TTL to 1 sec and select the routing policy to weighted and fill weight to 1 and set ID to read 1.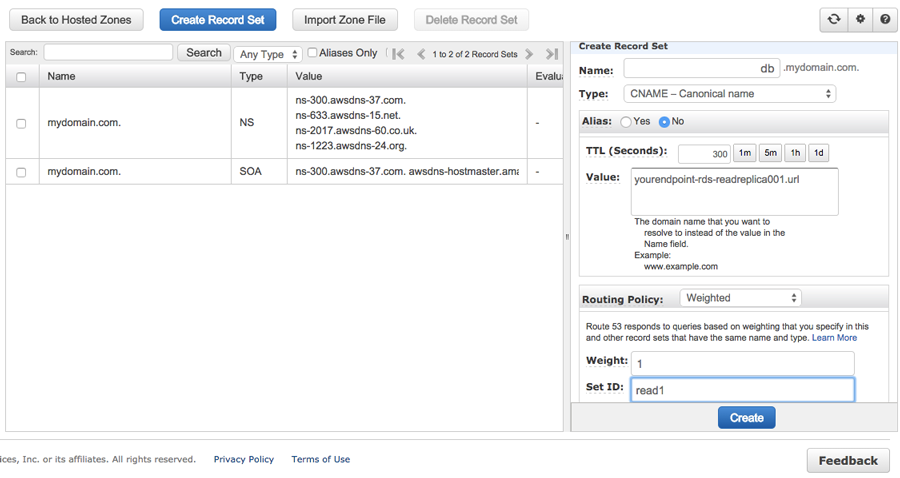

Step 10:
Final Check now checks that the DNS service is working properly. Use the ping command to ping db.mydomain.com. Each time you ping, you must receive a random instance IP address of your different instances.
Step 11: The Last Step, As the last step for write and update, use the main instance Endpoint’s URL and all the others for reading Use db.mydomain.com instead of the endpoint address of each instance.
Note:
If some of your instances have more powerful hardware (CPU, RAM), you can set more weight for a higher-powered instance. For example, if you have one master with very high throughput and two read replica which have deficient resource levels. You can set the weight for the master to 50 and set 25 for each read replica. Based on this setting, out of every 10 read requests, 5 are sent to the master, and 2 or 3 are sent to each of the replica instances.
😉