
Let’s imagine that you’re selling some services, and over time you make expansions to other regions and even other states or countries. As you grow in size, then you’ll add more PBX systems to gather your call information and send it to PBXDom to be processed.
Generally speaking, depending on the scale of companies, businesses, banks, educational institutions, and organizations, there are times when it’s needed to add more PBX systems to your network of machines.
Therefore, it’ll be handy knowledge to know how you can do it on the PBXDom side.
Throughout this post, I’ll guide you to find your way in PBXDom settings to become able to introduce your PBX system. So, let’s get started!
First, to connect a PBX to PBXDom, you need to install PBXDom Collector software on your computer and then connect the PBX to the computer via one of the possible recommended connection types. For example, some PBX vendors and models are connected to the computer via Serial/RS 232 port type.
Collector software gathers the call information from the PBX and pushes them through the lines to PBXDom on the cloud.
Log into your account on PBXDom and click on the Settings on the top-right of the application. From the menu list, select PBX to be taken to the following page:
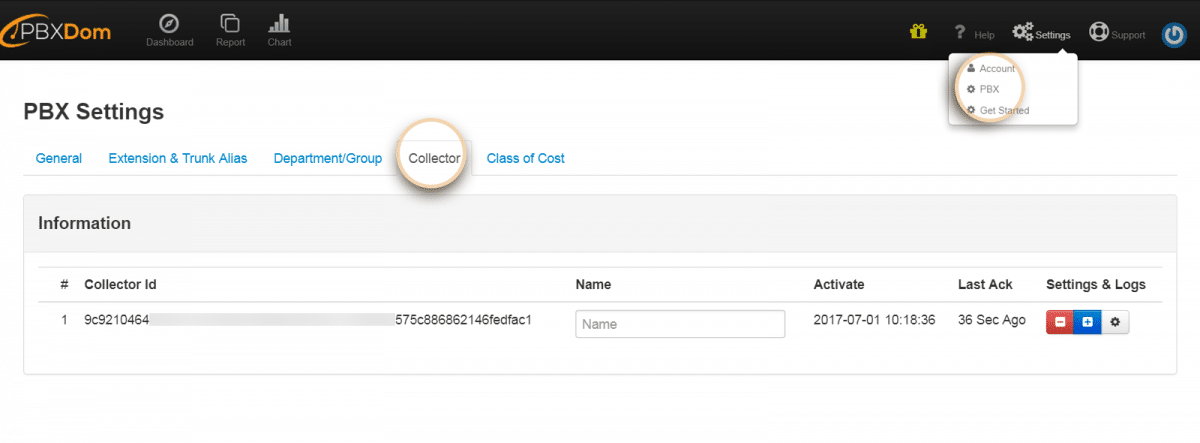
Right under Collector, you can find a list of all the PBXDom Collector software. PBXDom can handle an endless number of Collector software connected to the application. However, each Collector can only gather call information of 8 PBX machines.
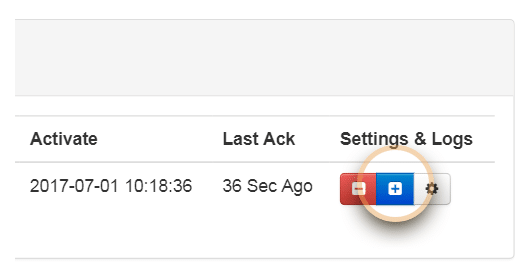
To add a PBX to a Collector, click on the Plus/Add button to each collector’s right.
Under the new section, you need to enter an arbitrary name for the new PBX, the physical location of the PBX, long-distance and international prefixes, country code, city code, currency sign, and a lot more.
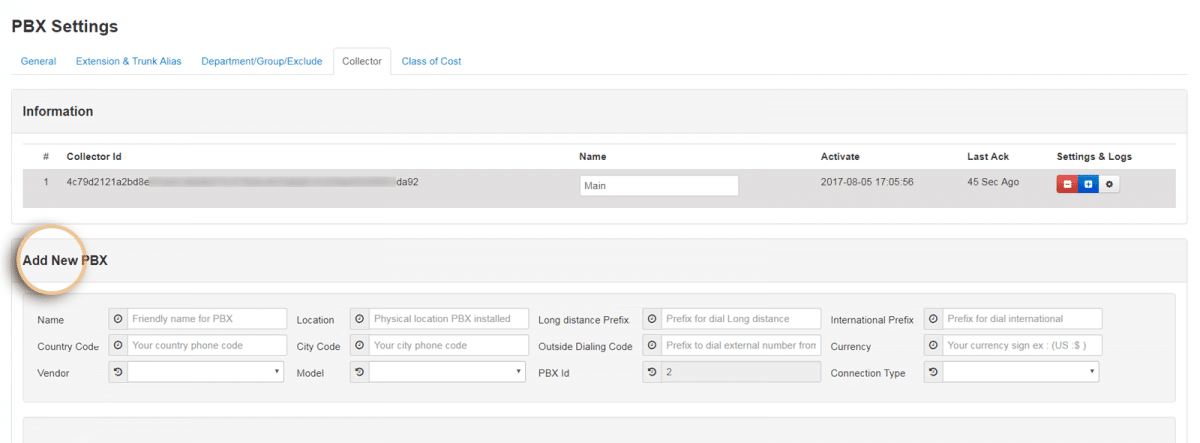
The vendor and model of the PBX should be selected from the Vendor and Model menu lists.
After finding your PBX vendor and model, you need to select one of the available connection types.
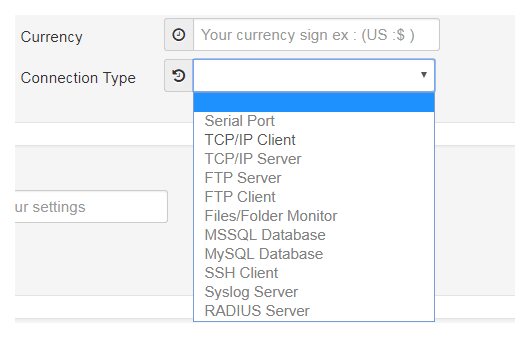
Some of the PBX machines have multiple connection types. But like I said, depending on your PBX vendor and model, only a few of them can be selectable from the menu.
Right below the Add New PBX, a new section appears for entering your connection type information. In total, there are 11 connection types.
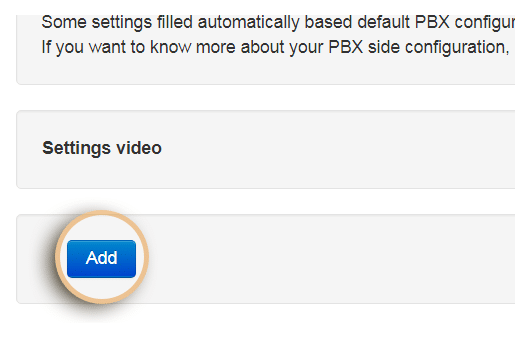
After selecting the right vendor, model, connection type and entering the correct information, you can finally click on the Add button to add your PBX right at the bottom of the page, and the deed is done.
Working around PBXDom, especially around PBXDom, well-organized settings are straightforward. Now that you know how to add a new PBX on PBXDom, then you can confidently start doing it whenever you’d like to make an expansion.
I tried my best to put the steps as clear as possible to avoid any confusion. But if you feel like you need to gain more information, then I’d ask you to look at the PBX settings help page. There, I’ve even explained different connection types and put together some short descriptions for each field in more detail.
In the end, if you have any further questions, you can contact us via email, online chat, and at our phone number. We’ll be glad to hear from you.