
Now that you’ve become one of the PBXDom clients, you might be wondering how you can really take the full advantage of this platform—to the best of its possibilities and functionalities—it’s PBXDom team to be concerned about educating you to find your way through the best and most useful spots of this application.
With the continuous non-stop work of PBXDom team, this application is swelling bigger and bigger in size of its features and capabilities. This is a great news!
But chances are that we miss the real necessary stuff to learn—things that we should really put time and effort to discover first.
So, over this weekly piece, I try to take you with myself to a short journey to somewhere very close to one of the core possibilities of PBXDom, which is residing in PBX settings section.
 As we are all concerned, most of the companies, organizations, banks, educational institutions can sometimes consist of several internal departments, groups and even external divisions and branches.
Hopefully, PBXDom is a cloud-based application based on Amazon Web Services (AWS), which is accessible to the users at any time, no matter where and how far the groups or branches are located from each other.
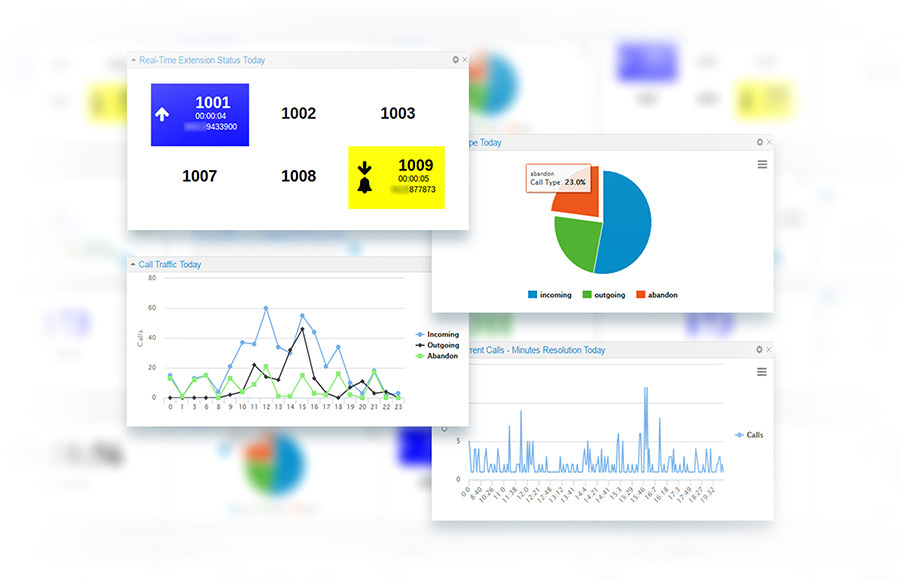
As a powerful and flexible Call Management and Analysis service, PBXDom enables users to introduce all their departments and groups within their companies or organizations through the designed and provided panels.
With the help of all of this, you’ll be able to limit your widgets, reports, and charts to a certain group or department. Let’s say… the Help and Support team in your company.
You may even want the presented information and data to be more precise and focused, which is also possible by introducing every single extension within a branch or department.
Adding a Group or Department
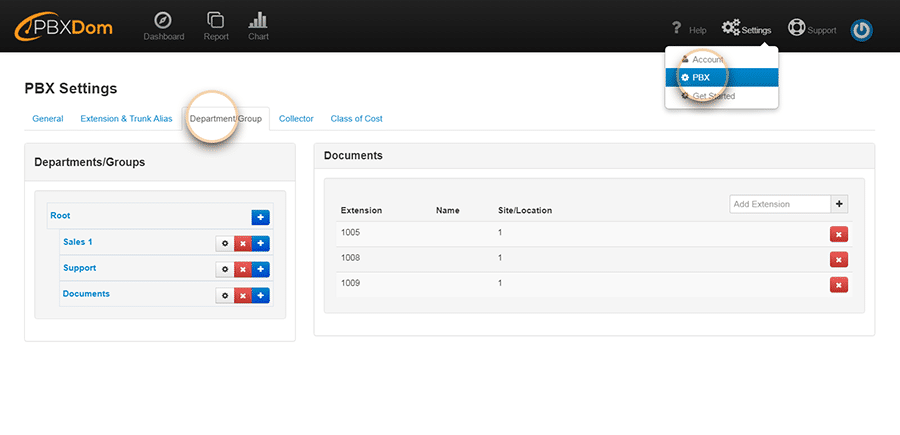
In order to add a group or department, all you need to do is heading to the Settings button right at the top-right of the interface and choosing PBX from the menu list. Then you can click on the Departments/Groups section.
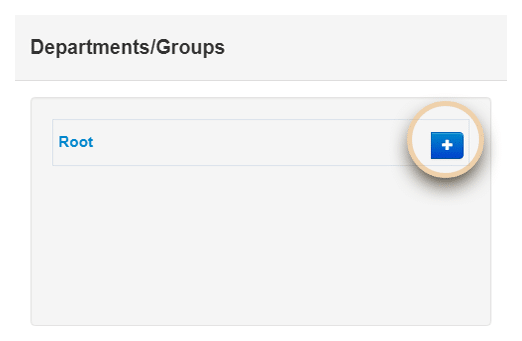
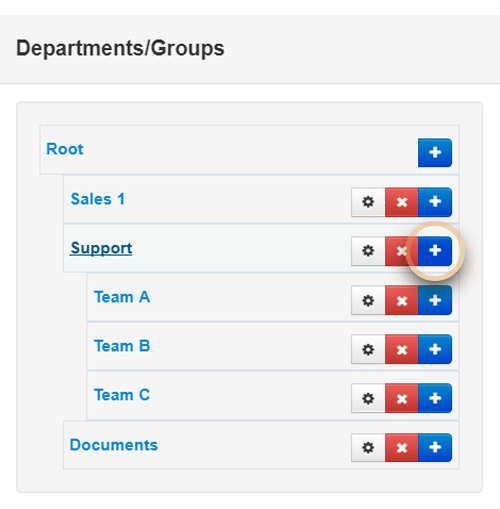
In the next step, you can click on the Add/Plus button and enter your name in the pop-up window. By default, Root is the first group that can be found on the list.
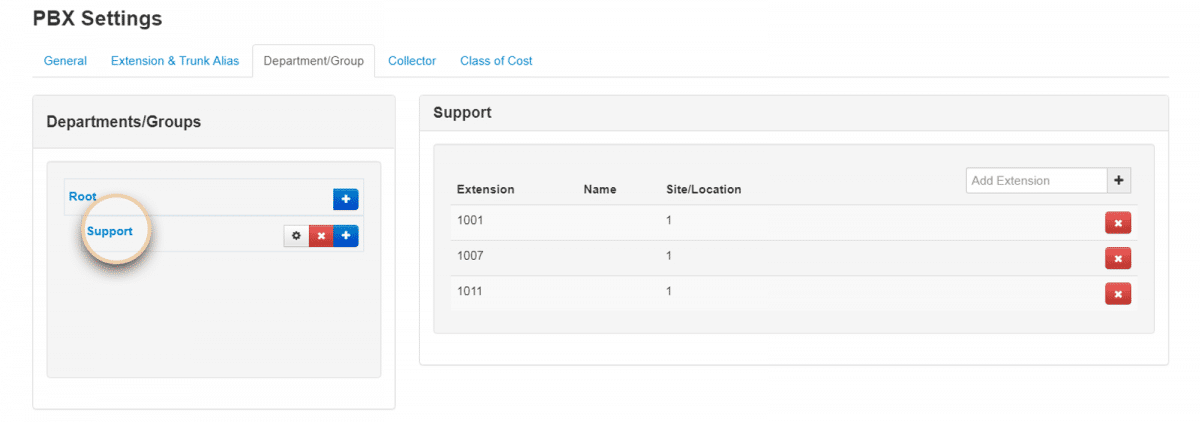
After typing in a name for your group and adding it, it will be visible on the Departments/Groups list.
Did you know that you’re even able to create as many nested groups and departments as you wish even within a certain department or branch? In other words, you may need to have nested groups and departments to any level you’d like—which is also possible through PBX setting on PBXDom.
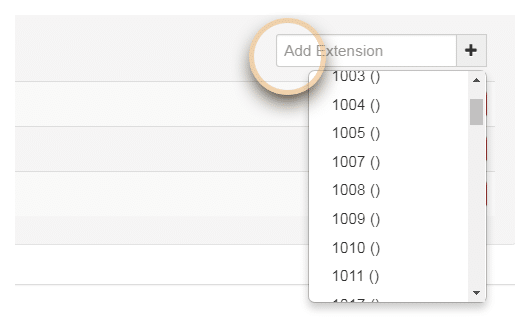
Once your groups and units are set up and ready, then you may like to fill in them with extensions from the extensions menu list.
Now that you have an idea of grouping on PBXDom, you may like to dig deeper by referring to the PBX help section on PBXDom Help Center, and know more by reading through the simple examples presented there.
No matter how huge your company or organization might be in size. PBXDom is extensively capable and powerful to allow you to manually enter and register all your groups, departments and branches and gives you more control to limit your widgets and reports information only to a specific department with its certain number of extensions.
After reading through this, you might come across some questions or just would like to feedback on it. So, please don’t hesitate to contact us via our email, online chat, or even call us at our toll-free phone number. We’ll be so glad to hear from you.