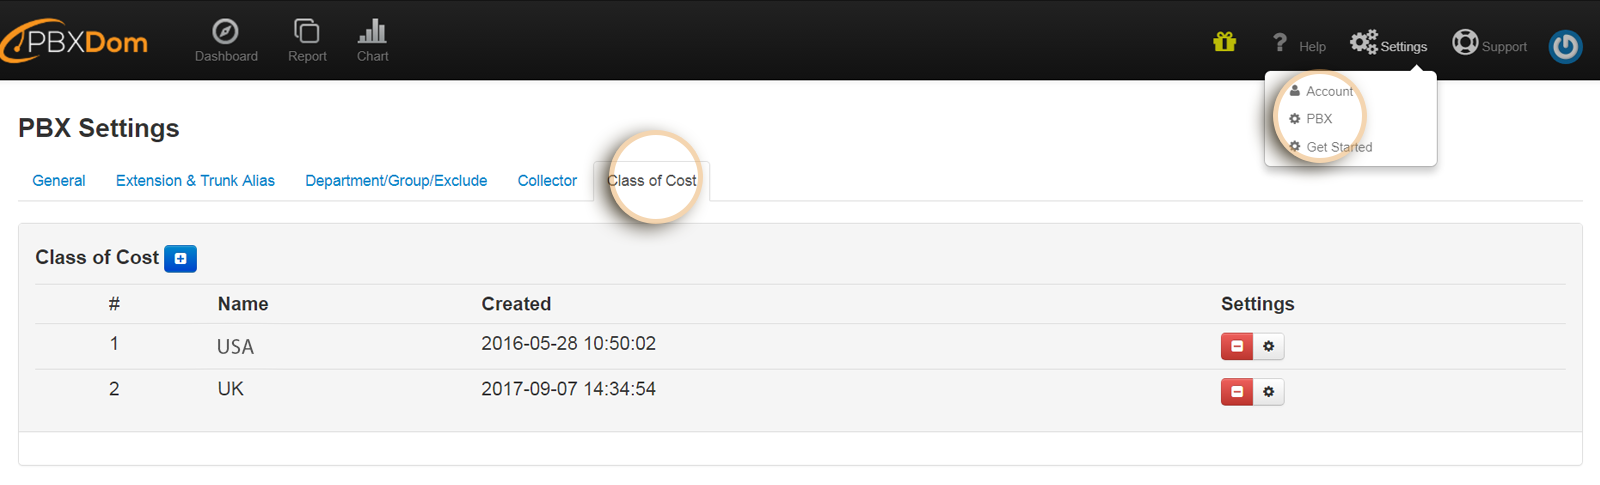
By clicking on the Settings button on the top-right, a drop-down menu appears with three sections as Account, PBX, and Get Started. Click on the PBX to set up your PBX and more.
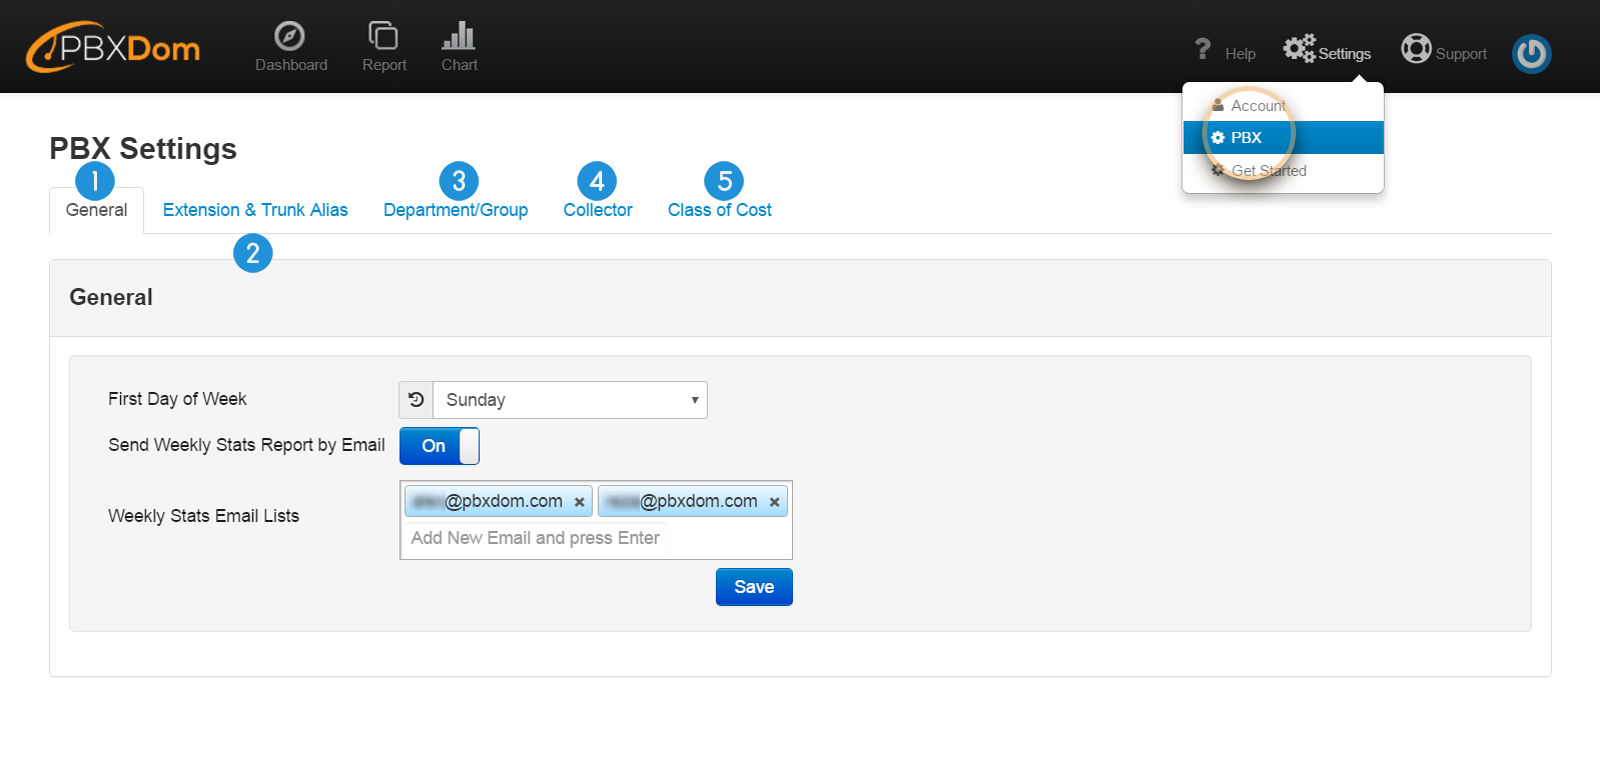
1. General: you can find and set some general settings for the PBX.
2. Extension & Trunk Alias: a list of all the landlines and extensions. The user can assign different names or numbers to the defined trunks and extensions, and choose a class of cost for them.
3. Department/Group/Exclude: you can define different departments and groups and determine extensions within those groups.
4. Collector: shows you a list of all the collectors and PBXes added for each collector.
5. Class of Cost: shows the different added class of costs for calculating the cost of the calls.
You can find and set some general settings for your PBX under the General section. For example, you can specify the first day of the week, and list all the Emails which receive weekly statistics reports. Under this section, you can also toggle on and off weekly reports feature.
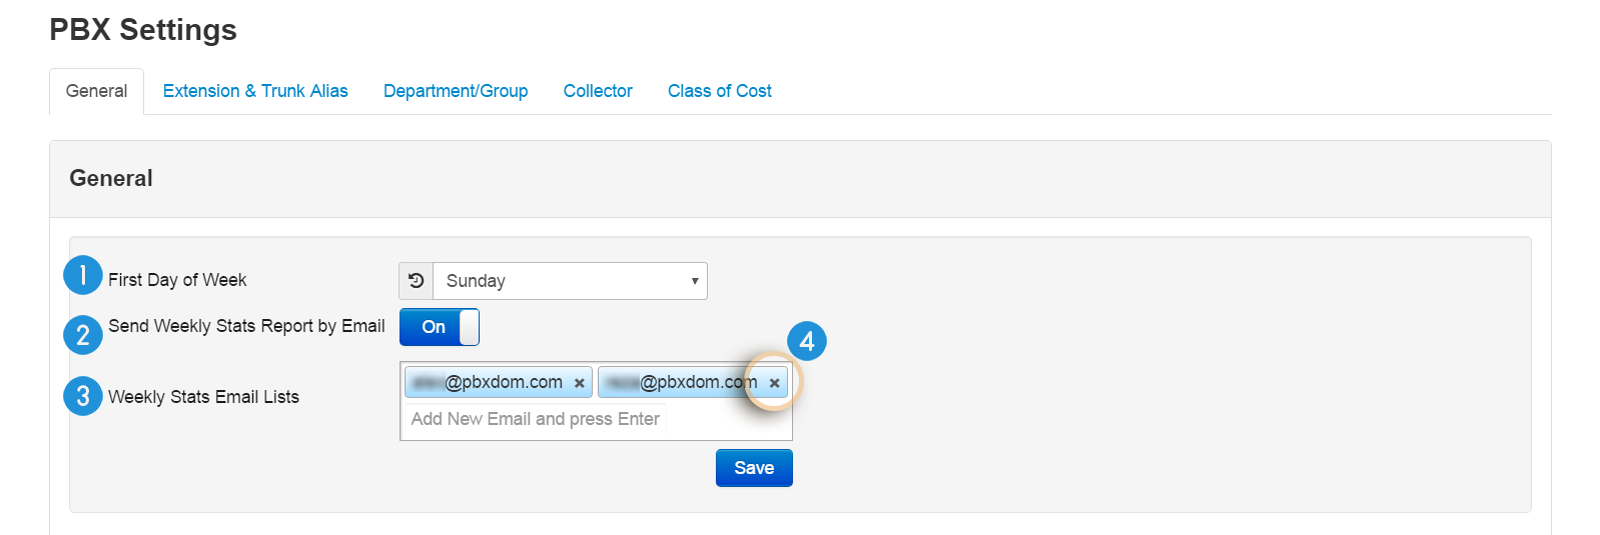
1. First Day of the Week: first day of the week specification
2. Send Weekly Stats Report by Email: toggle On and Off the weekly stats report feature.
3. Weekly Stats Email Lists: list of all the Emails that receive statistics reports on weekly basis. This list can be changed. By default, the owner of the account is the only recipient.
4. Remove/Delete: by clicking on the cross icon to the right of each email, you can remove the email from the list of recipients.
A weekly statistics report include a brief information of all the received (incoming), made (outgoing), and missed (abandoned) calls over the course of a week. The email received by the defined recipients looks like this:
This section allows you to find a list of all the added landlines and extensions with the possibility of assigning different arbitrary names and numbers to them. The names and numbers you define in this section, can be seen in the widgets and reports you create and generate. You can also define and select different classes of cost for each extension and trunk from the list of the defined classes.
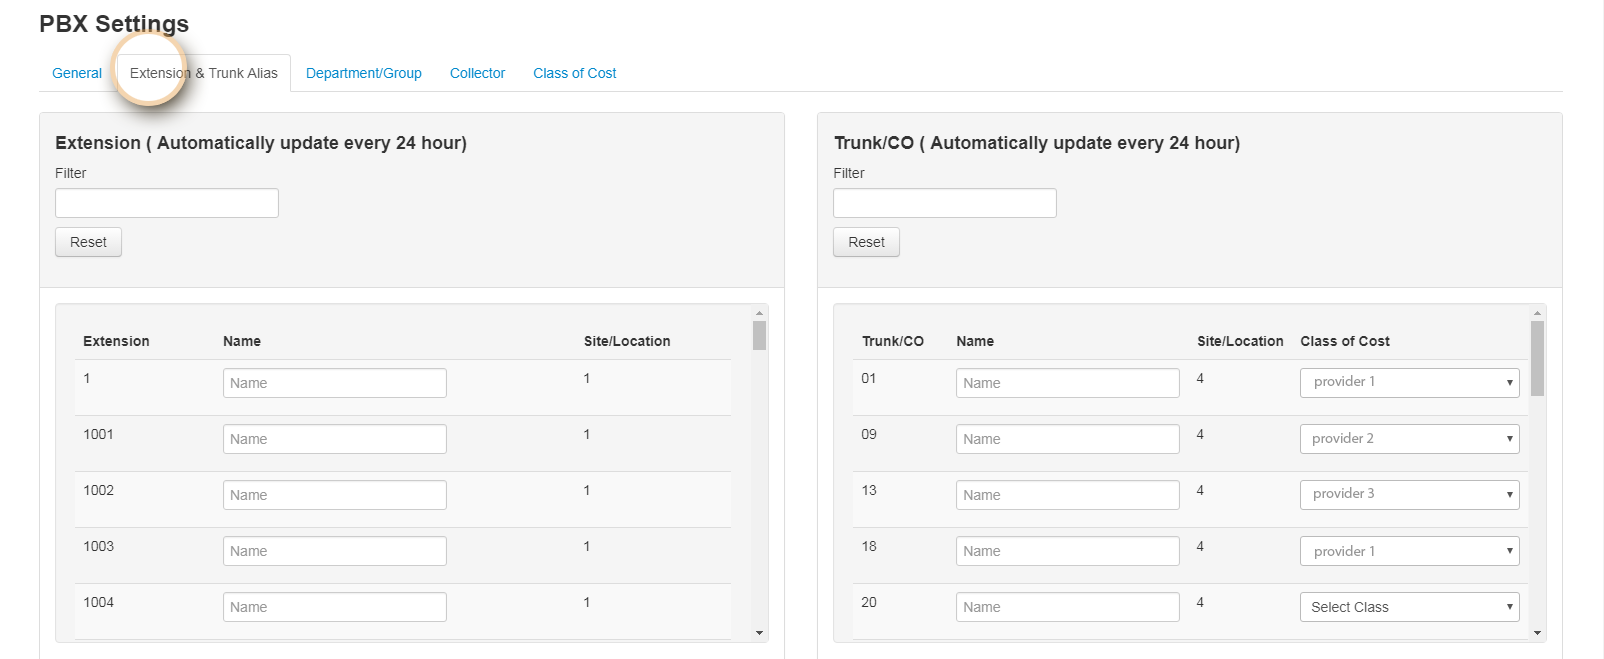
Extension & Trunk Alias section is divided into two separate parts as Extension and Trunk/CO.
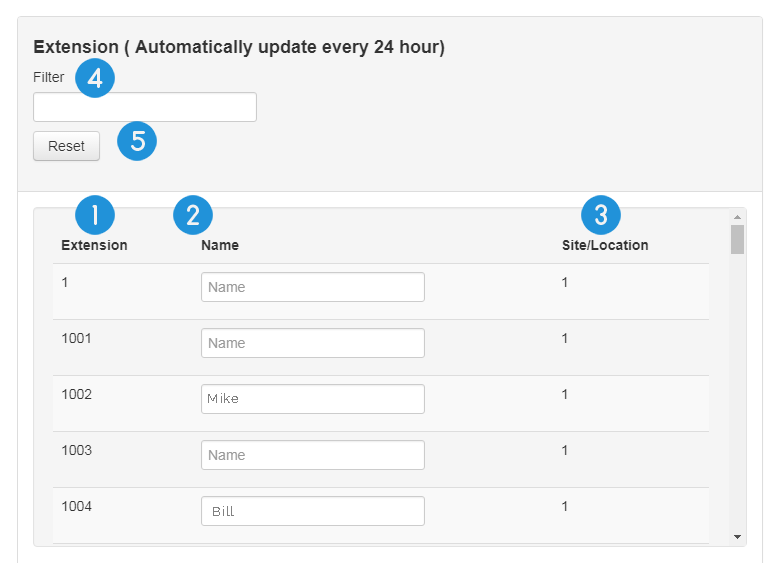
1. Extension: extension number
2. Name: arbitrary name or number of the extension which can be assigned by the user
3. Site/Location: ID number of the PBX on PBXDom
4. Filter: search for a particular extension number or name by entering a numeric or textual value in the filter field.
5. Reset: remove all the assigned names for the extensions by clicking on the Reset button
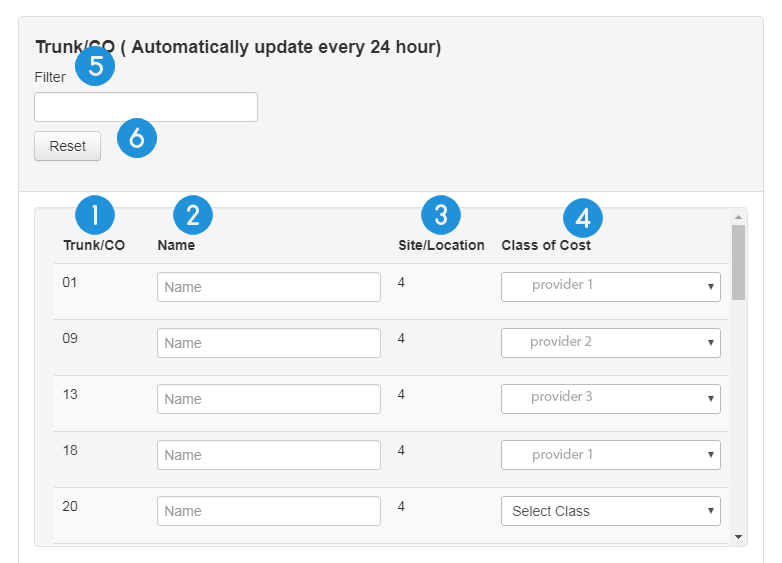
1. Trunk/CO: landline number
2. Name: arbitrary name or number of the landline/Trunk which can be assigned by the user
3. Site/Location: ID number of the PBX on PBXDom
‘
4. Class of Cost: a list of defined and available classes of cost which can be selected for a particular landline
5. Filter: search for a particular landline/Trunk number or name by entering a numeric or textual value in the filter field.
6. Reset: remove all the assigned names for the landlines/Trunks by clicking on the Reset button.
This section presents you a hierarchical (tree-based) list of all the departments and groups in your company and organization. You can easily add more departments, add sub-departments/groups under other groups, and select extensions for each department from the available list.
Defining different departments and groups can help you to limit the information displayed on different widgets and reports to a particular group.
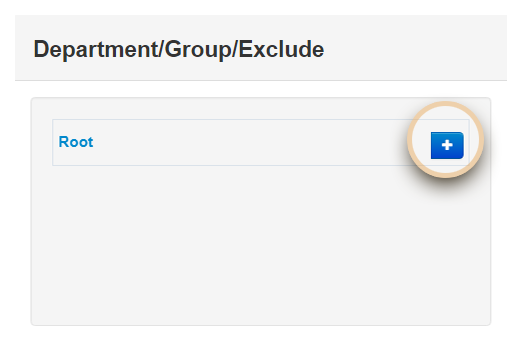
By default, Root is the first group that can be found in the list. All the other groups and departments can be added as the sub-groups of the Root.
Click on the Add icon to the right of the Root to add more departments to the list.
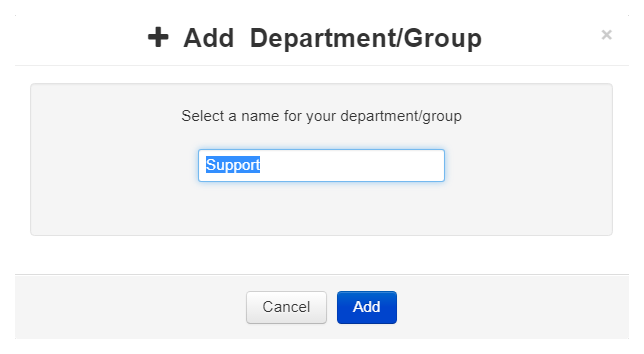
Then up comes the Add Department/Group pop-up window. Enter a name for the new department/group. For example, let’s enter ‘Support’ for the new group.
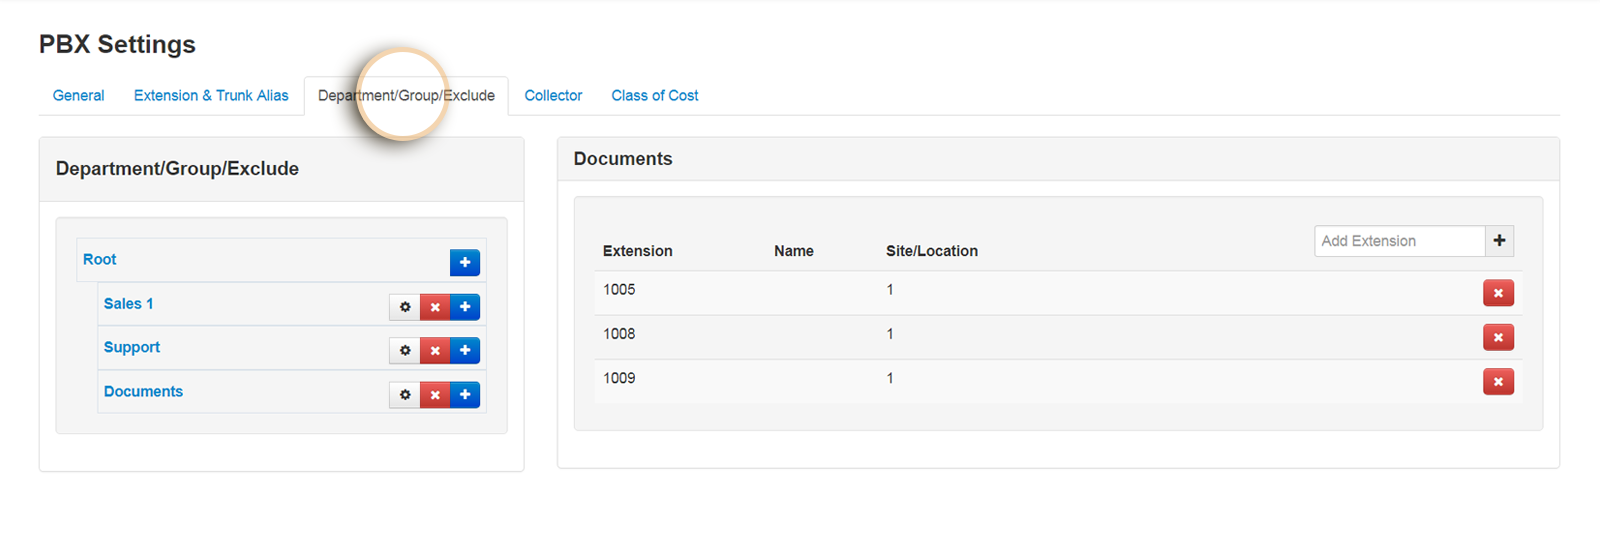
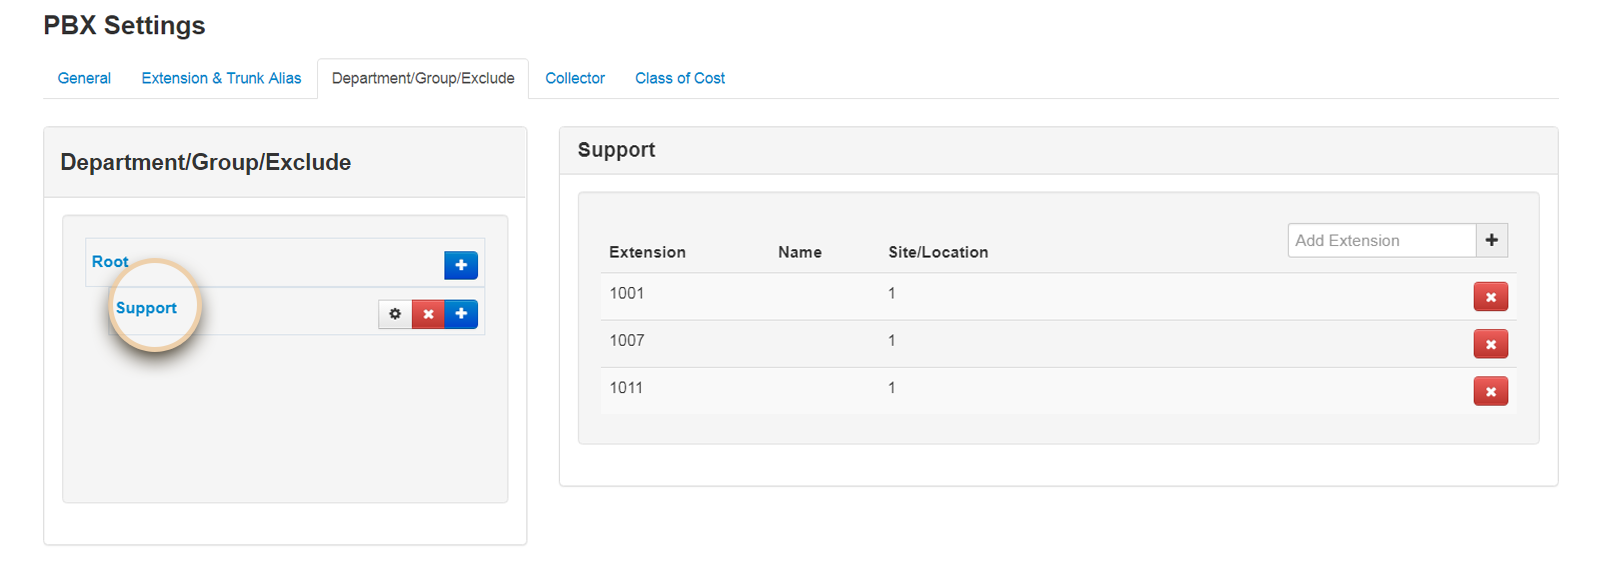
After the group is added to the list, then you can add extensions by clicking on the list items. Then another section appears on the right-hand side of the page, which allows you to select and add your extensions for the selected department.
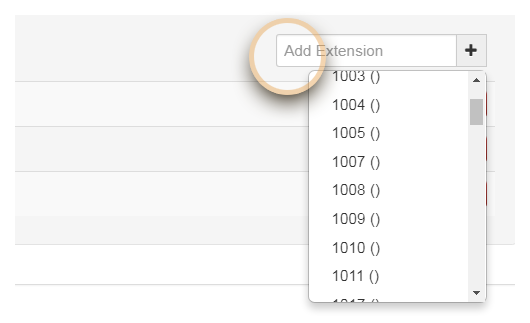
You can begin adding your extensions to a department/group by choosing the extensions from the drop-down menu list.
You can also remove an extension from a department/group by clicking the Cross icon.
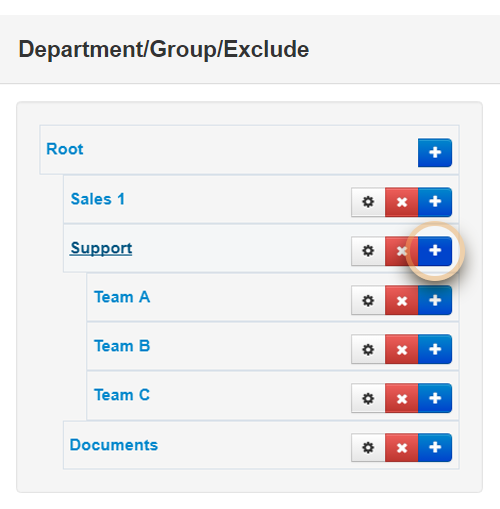
For adding sub-departments/groups under other exsisting groups, click on the Plus (Add) icon on the right side of each existing department or group and even a sub-group. For example, in the image below, we have Team A, Team B, and Team C as the sub-departments/groups of the Support.
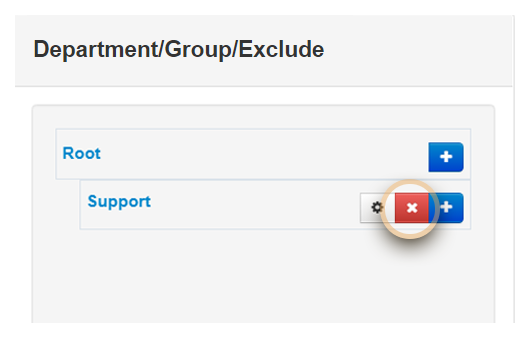
To remove a department or group from the list, click on the Cross icon on the right-hand side of the title.
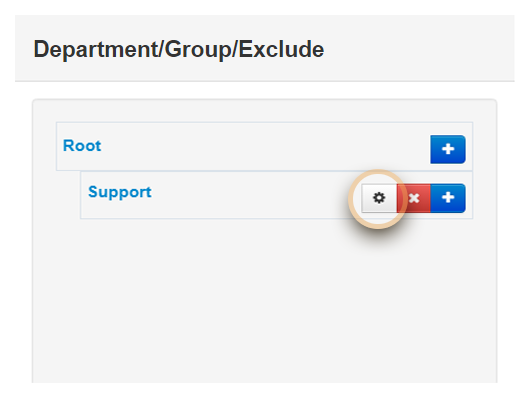
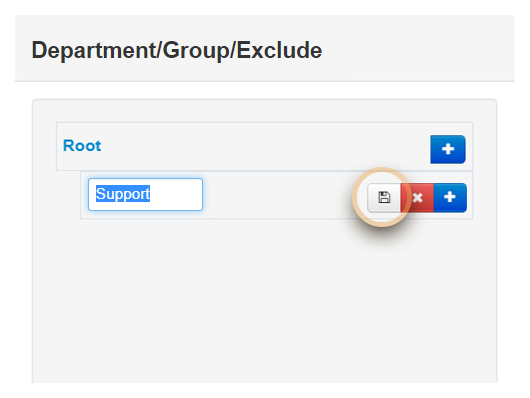
For renaming the title of a department or group, click on the Gear icon on the right-hand side of the title. Then enter your new title name.
After entering a new name, click on the Save icon to save the changes.
By referring to Exclude Extension section, you can make a list of all the extensions that you are not interested to be included in your reports. After making your list in the Exclude Extention section, calls information of the added extensions will be shown neither in reports nor dashboard widgets

This section shows you a list of all the Collector softwares working for your account on PBXDom and all the connected PBXes for each Collector. Under this section, you can also add numbers of PBXes for a Collector software and configure them to fulfill your needs.
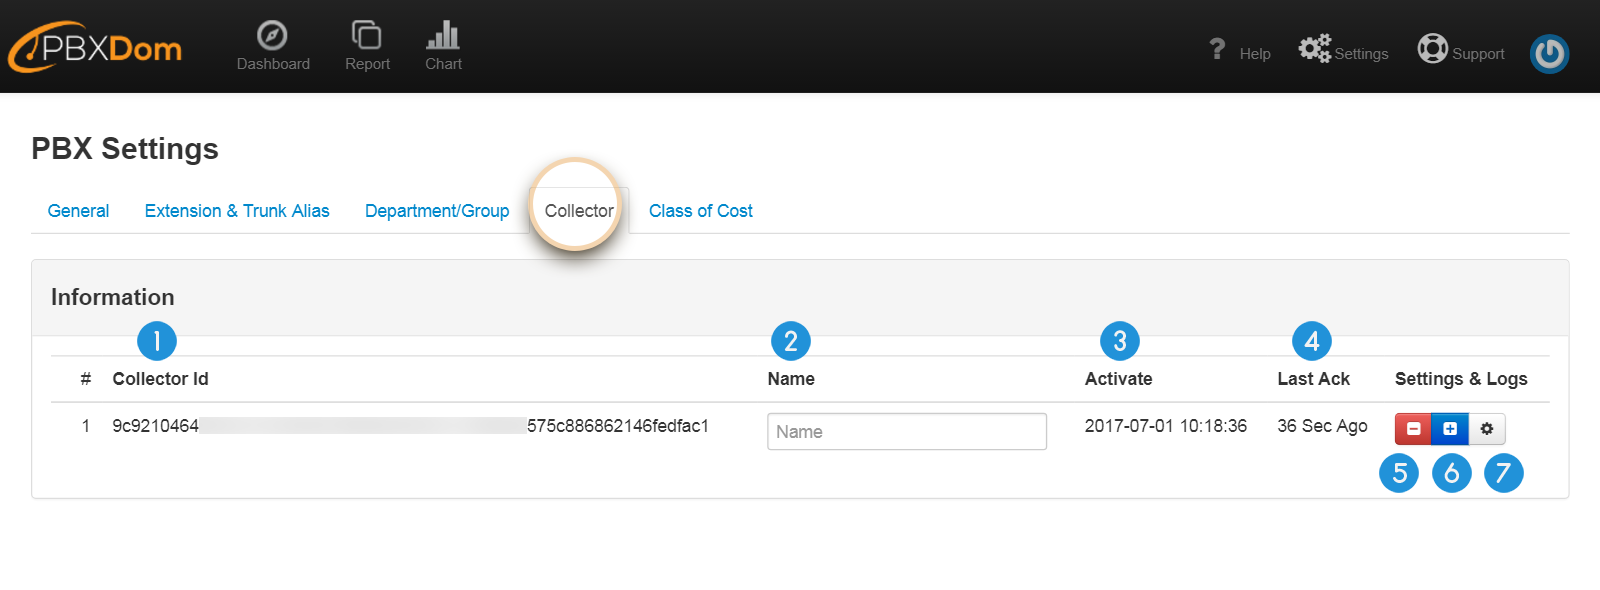
1. Collector Id: ID of the Collector on PBXDom
2. Name: an arbitrary name for each Collector
3. Activate: shows the exact date and time the collector was registered on PBXDom
4. Last Ack: shows the last time the data was received from the Collector software
5. Remove/Delete: removes a Collector from PBXDom
6. Add: to add and connect more PBXes to a Collector
7. PBX List: shows a list of all the connected PBXes and their logs
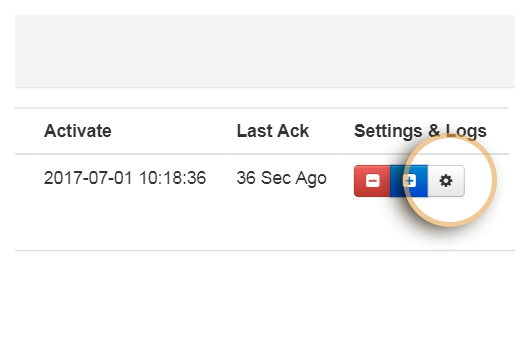
To view a list of all the PBXes added to a specific Collector, you can click on the Gear icon all the way to the right of the Collector.
For each Collector on PBXDom, we can introduce up to 8 PBXes and not more.
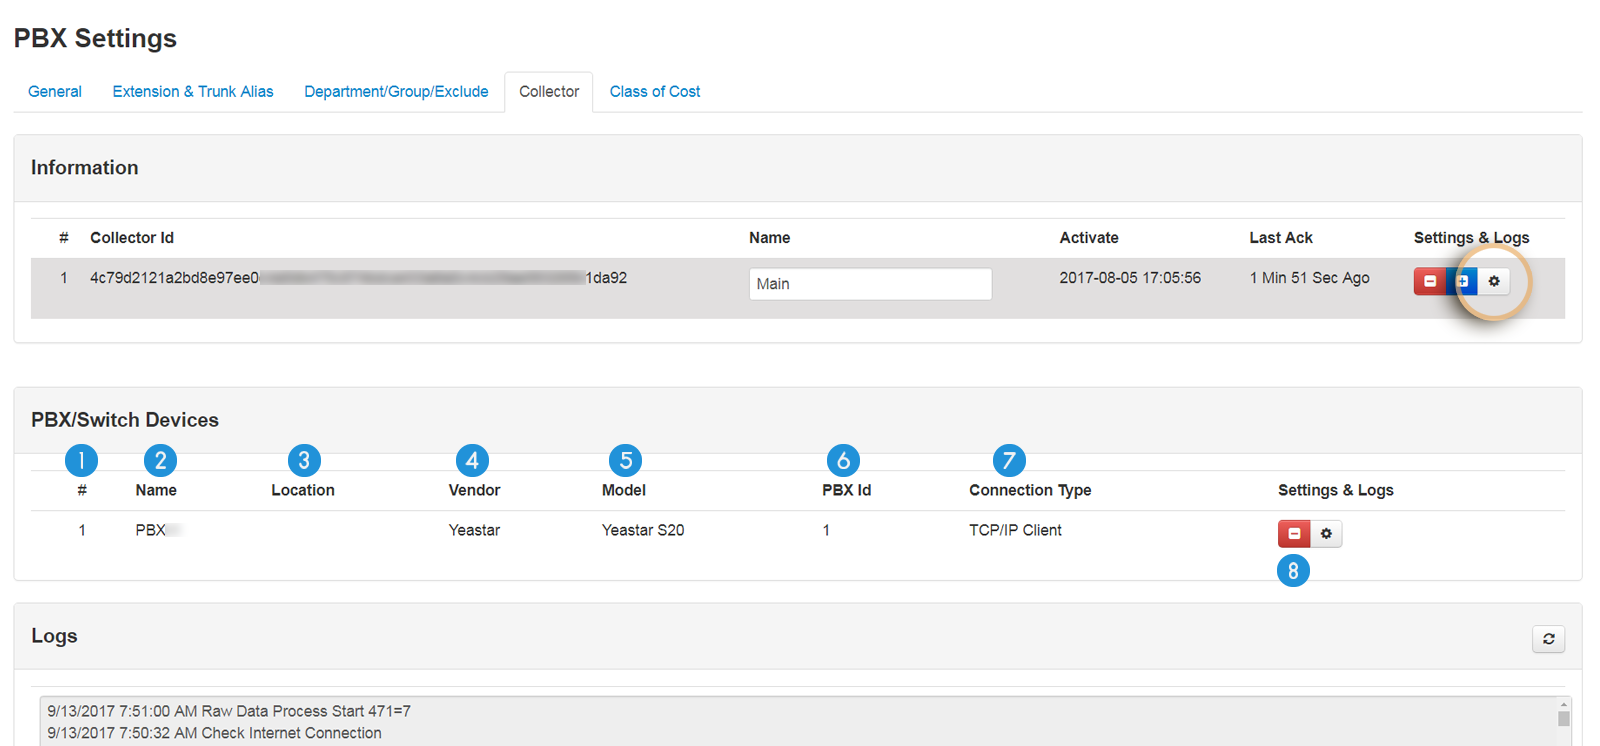
1. Number: number of PBX in the list
2. Name: the arbitrary name defined for the PBX by the user
3. Location: the physical location of the PBX defined by the user
4. Vendor: shows the PBX vendor
5. Model: shows the PBX model
6. PBX Id: the assigned PBX Id number by PBXDom
7. Connection Type: the selected connection type between the Collector software and the PBX
8. Remove: the remove icon to remove the PBX from the list of the Collector
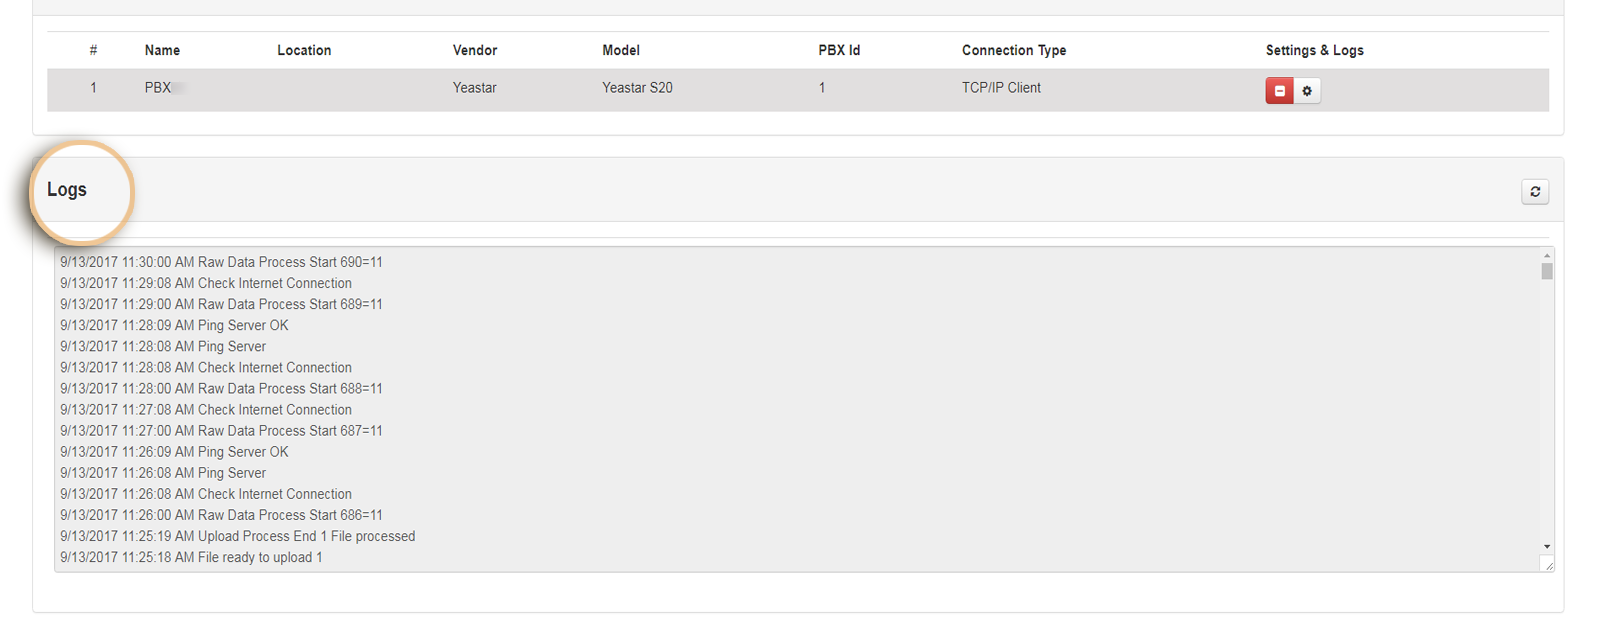
To view a list of all the last collected logs associated with a Collector software, you can click on the Gear icon.
Right below the PBX list, you will have the logs section. The recorded logs are commonly referred by the user for reviewing and troubleshooting purposes.
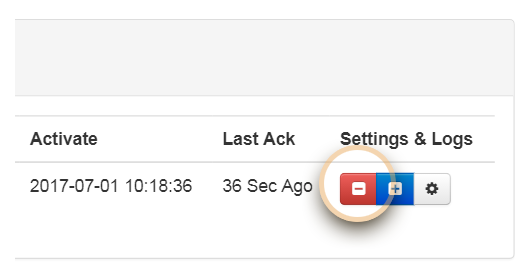
In order to remove a Collector, you can click on the Remove icon on the right side of each listed Collector.
To add a PBX to a collector, click on the Plus (Add) button.

Then another section called Add New PBX appears below the Collector section. You can start entering the information of the PBX in the fields below.
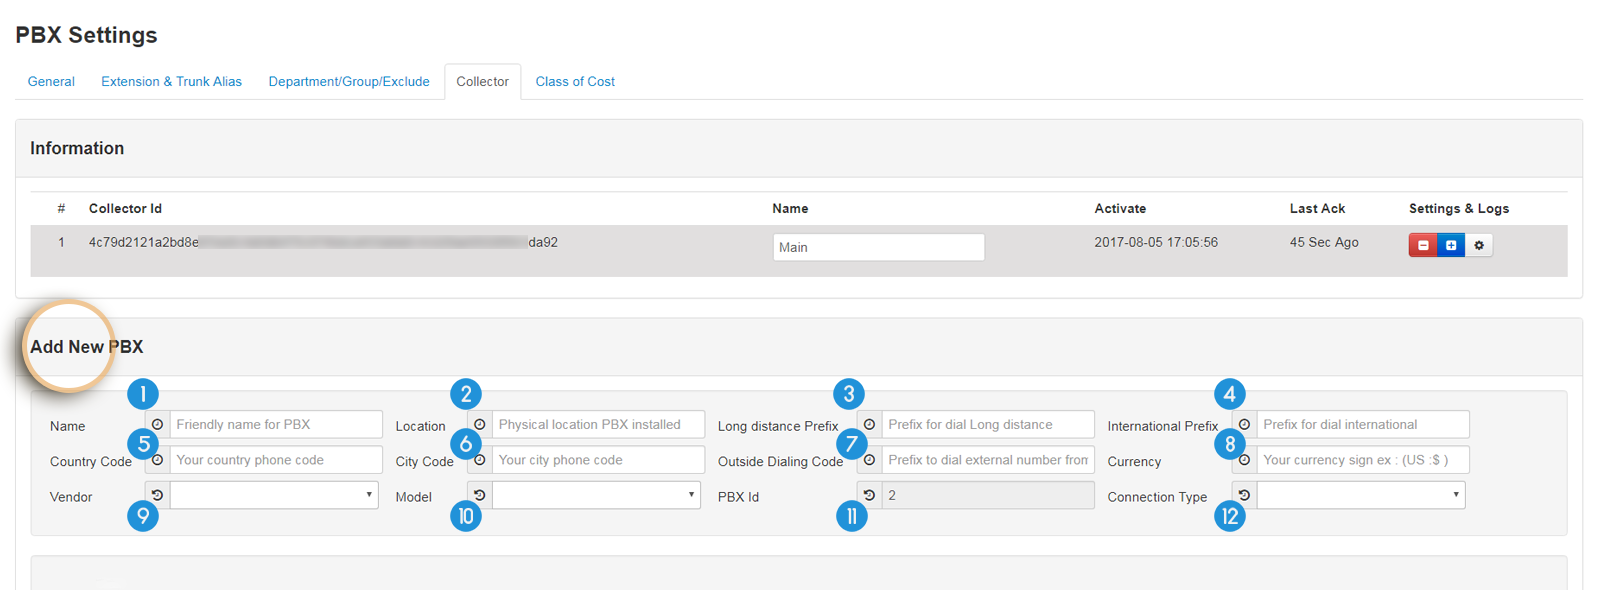
1. Name: arbitrary name for PBX
2. Location: physical location of the PBX
3. Long Distance Prefix: prefix number when dialing a long distance number
4. International Prefix: prefix number when dialing an international number
5. Country Code: your country phone code
6. City Code: your city phone code
7. Outside Dialing Code: prefix number when dialing numbers outside your company or organization
8. Currency: your country currency sign
9. Vendor: list of supported PBX vendors
10. Model: list of supported PBX models for a vendor
11. PBX ID: a unique ID number for each PBX on PBXDom
12. Connection Type: list of available connection types for the selected PBX vendor and model
After selecting your PBX vendor and model in the Add New PBX, then you need to select your connection type.
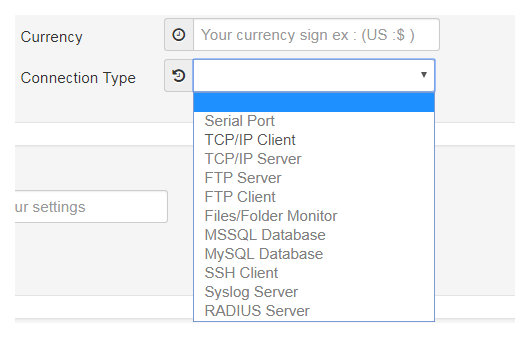
Depending on your selected PBX vendor and model, you are only permitted to choose one of the available ones from the list. PBXDom automatically filters out some of them.
After determining the connection type between the Collector software and the PBX by choosing the available one(s) for your PBX vendor and model, another section appears right below Add New PBX section for entering your connection information.
There are 11 different connection types to choose from. Here are all the types which you can learn about:
Serial Port:

1. Port: serial port number
2. Baud rate: speed of data transmission
3. Data bits: number of data bits to be trasmitted through the serial port
4. Stop bits: number of bits to show the end of a byte
5. Parity: specifies how you want to check parity bits in the data bits transmitted
6. Flow control: specifies the process of managing the speed of data transmission on your serial port
TCP/IP Client:

1. Host: Server IP address
2. Port: port number
3. Login: login username based on your settings
4. Password: password based on your settings
TCP/IP Server:

1. Port: port number
2. Login: login username
3. Password: password
FTP Server:

1. Port: port number
2. Login: login username
3. Password: password
FTP Client:

1. Host: FTP Server IP address
2. Port: FTP Server port number
3. Login: Username
4. Password: Password
5. Remote Path: remote directory include CDR files
6. Fetch every: interval in minutes to fetch new data from FTP server
6. Delete source file after processing: if checked, PBXDom Collector software deletes the source file from FTP server, after the software downloads the file successfully.
Files/Folder Monitor:

1. Folder: folder path on the machine the PBXDom Collector software is installed
2. Delete files after processing: if checked, PBXDom Collector software deletes the source files after it checking and processing the files are finished
3. Fetch every: interval in minutes to check changes in the files directory.
MSSQL Server:

1. Host: Server IP address
2. Port: Server Port
3. Login: login username
4. Password: password
5. Table: CDR Table name
6. Unique Field Name: Unique Field Name in CDR Table
7. Start from Id: Record ID Number to start retrieving data from CDR table
MySQL Server:

1. Host: Server IP address
2. Port: Server Port
3. Login: login username
4. Password: password
5. Table: CDR Table name
6. Unique Field Name: Unique Field Name in CDR Table
7. Start from Id: Record ID Number to start retrieving data from CDR table
SSH-Client:

2. Host: Server IP address
1. Port: SSH server port number – default number is 22
2. Login: login username
3. Password: password
Syslog Server:

1. Port: Port number
2. Login: login username
3. Password: password
RADIUS Server:

1. Port: Port number
2. Login: login username
3. Password: password
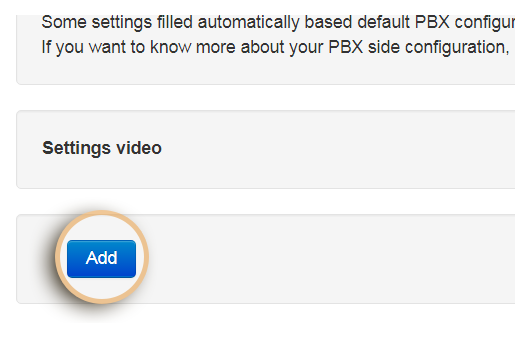
After selecting the right connection type for your PBX vendor and model, and entered the correct information for your connection, then you can click on the Add button to add your PBX.
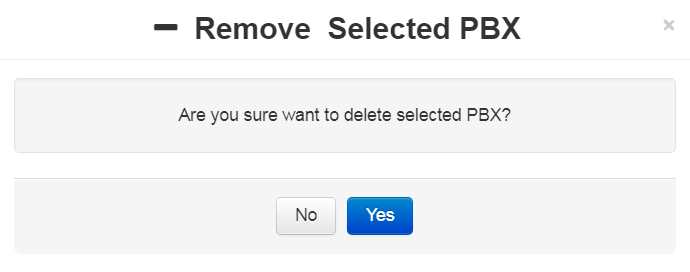
You can remove a PBX from the list by simply clicking on the Minus/Remove icon.

Then up comes this pop-up window. Click on Yes to confirm the deletion.
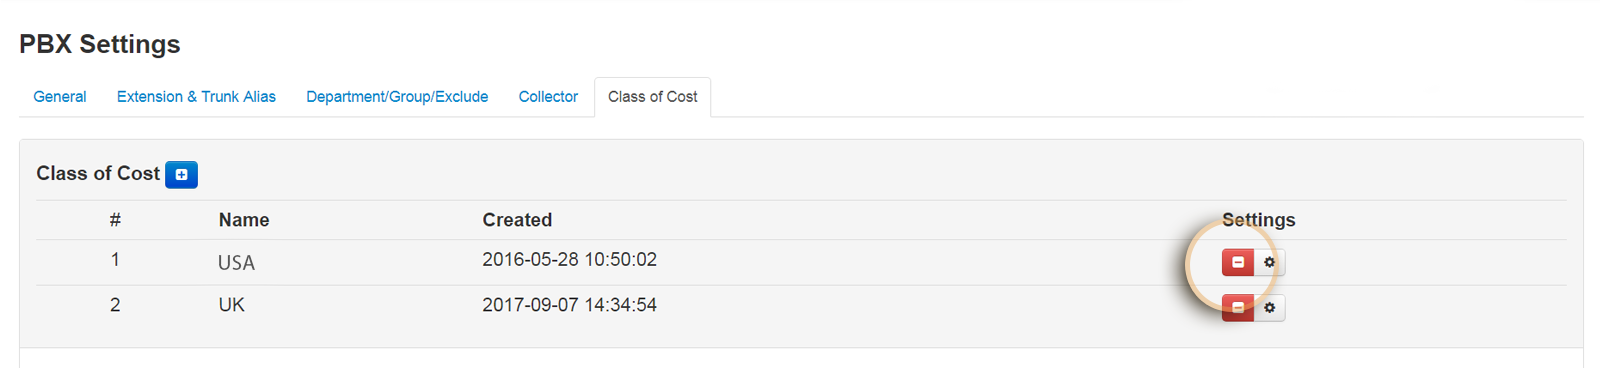
Different telecommunication service providers may possibly calculate calls cost based on their own defined values. Under Class of Cost section, you can define different cost classes for your each particular landline/Trunk.
Under Class of Cost, you can also view a full list of all the defined classes for measuring your calls cost on PBXDom.
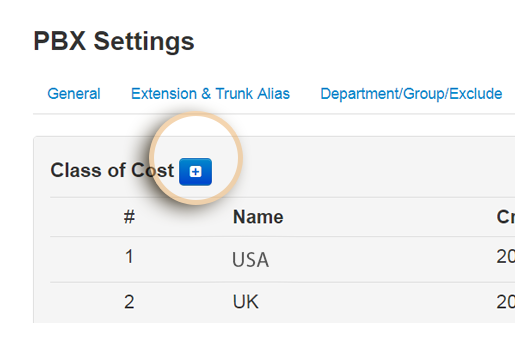
In order to add a class of cost, you need to click on the Plus/Add button under Class of Cost section.
Then right below the list of defined classes, a new section appears with the name Class of Cost Information, which allows you to define your calls cost rate both for incoming and outgoing calls.
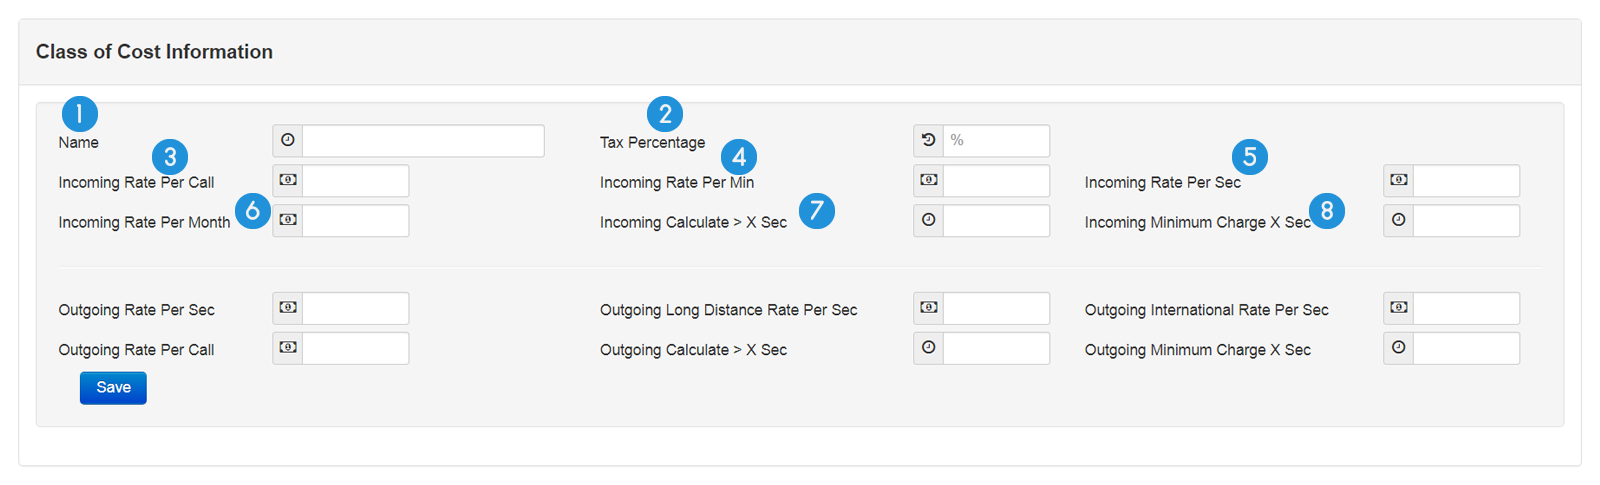
1. Name: an arbitrary name for class of cost
2. Tax Percentage: the tax percentage rate of the telecommunication service provider
3. Incoming Rate Per Call: cost rate based on each incoming call
4. Incoming Rate Per Min: cost rate of an incoming call based on minute
5. Incoming Rate Per Sec: cost rate of an incoming call based on second
6. Incoming Rate Per Month: cost rate of an incoming call based on month
7. Incoming Calculate > X Sec: a second-based condition which determines which incoming calls with what duration should be taken into account
8. Incoming Minimum Charge X Sec: determines the minimum duration of each incoming call to be charged

9. Outgoing Rate Per Sec: cost rate of an outgoing call based on a second
10. Outgoing Long Distance Rate Per Sec: cost rate of outgoing long distance calls
11. Outgoing International Rate Per Sec: cost rate for outgoing international calls
12. Outgoing Rate Per Call: cost rate based on each outgoing call
13. Outgoing Calculate> X Sec: a second-based condition which determines which outgoing calls with what duration should be taken into account
After entering your values in the value fields, you can click on Save button. A new class of cost will be added to list.
Also, another section called Custom Rate is added below the Class of Cost, which you can get to it by clicking on the Gear icon all the way to the right of the class.

In addition to specifying different classes of cost for different telecommunication service providers, you can also define an endless number of custom rates for different countries and states through Custom Rate section.
To add a custom rate, click on the Plus/Add icon to the left of the Custom Rate List.
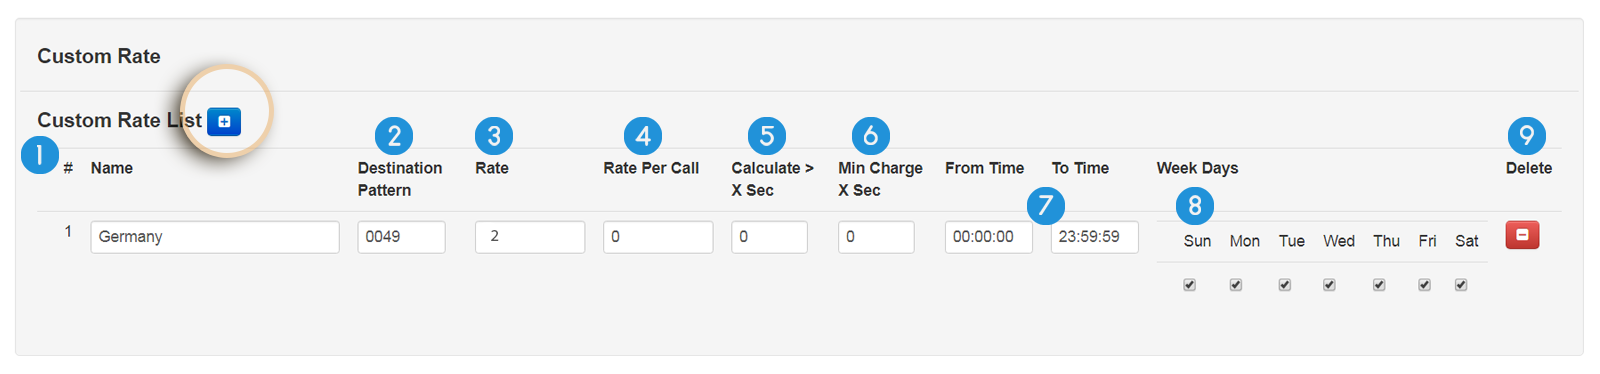
1. Name: an arbitrary name for the custom rate
2. Destination Pattern: defines the destination pattern
3. Rate: cost of a call for each second
4. Rate Per Call: cost rate based on each call
5. Calculate > X Sec: a second-based condition which determines which calls with what duration should be taken into account
6. Min Charge X Sec: determines the minimum duration of each call to be charged
7. From Time/To Time: defines a time range
8. Week Days: specifies the days of the week on which this custom rate can get applied
9. Delete: removes the Custom Rate from the list
After you specified your class of cost, then you can link it to your Trunks/landlines to the class by going to the Extension & Trunk Alias section.
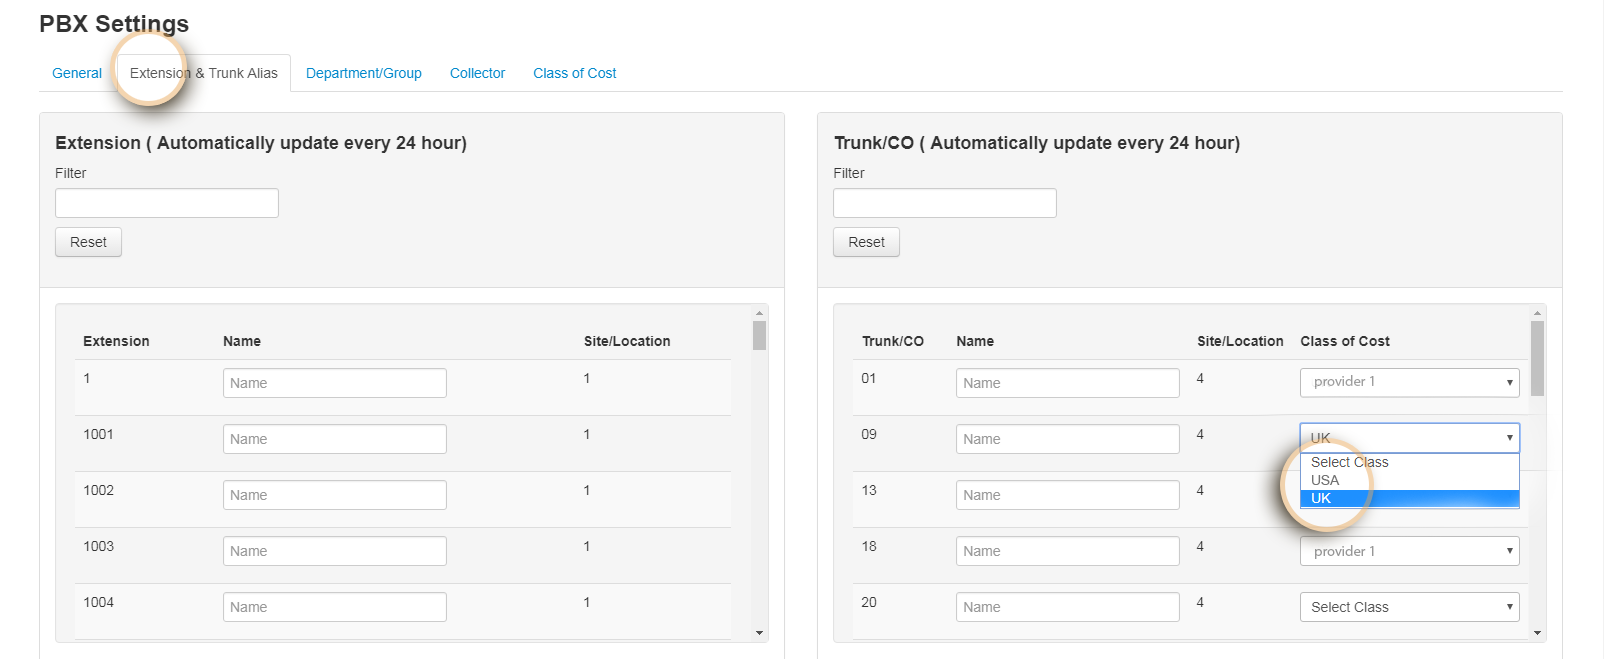
You can easily choose your created class of cost for calculating your Trunk/land line calls cost from the menu list on the right-hand side of each trunk listed.
To edit a class of cost, click on the Gear icon on the right-hand side of the class in the list.

Then appears the settings below the list of classes, which you can start changing and editing them.
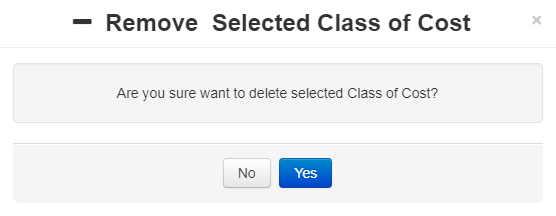
To remove a class of cost, click on the Minus/Remove icon on the right-hand side of the class in the list.
Then a pop-up shows up on the screen. To confirm the deletion, click on the Yes button.