
Today’s employees are spread out across multiple locations, from corporate headquarters to home offices
around the globe and keeping your workforce, customers, and partners connected with any time, anywhere
access to voice and data in real-time is essential.
The KX-NS takes unified communications to an entirely new level, giving employees an easy and
the efficient way to manage email, voice mail, instant messaging, and fax from anywhere while empowering
your business with the latest collaborative technologies that help you maintain your competitive edge.
For more info about the Panasonic NS series, visit the following page:
Panasonic business-communication-servers
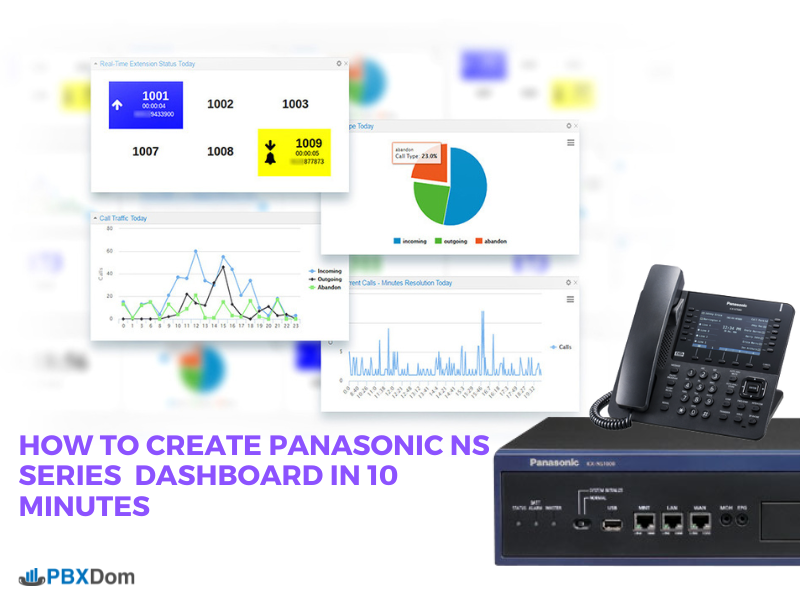
In this article, I will show you how you can create the Panasonic NS series Dashboard within only 10 Minutes. So, let’s get started and follow along with my instructions step-by-step.
Step 1:
Sign up in PBXDom at the following link:
https://app.pbxdom.com/#/signup
Step 2:
After confirming your account by clicking on the link sent to your email, you will be redirected to the setup page on the PBXDom website. Before start set up the PBXDom collector software, I draw your attention to the following diagram. It shows the connection between your Panasonic NS300/500/700/1000 and PBXDom.
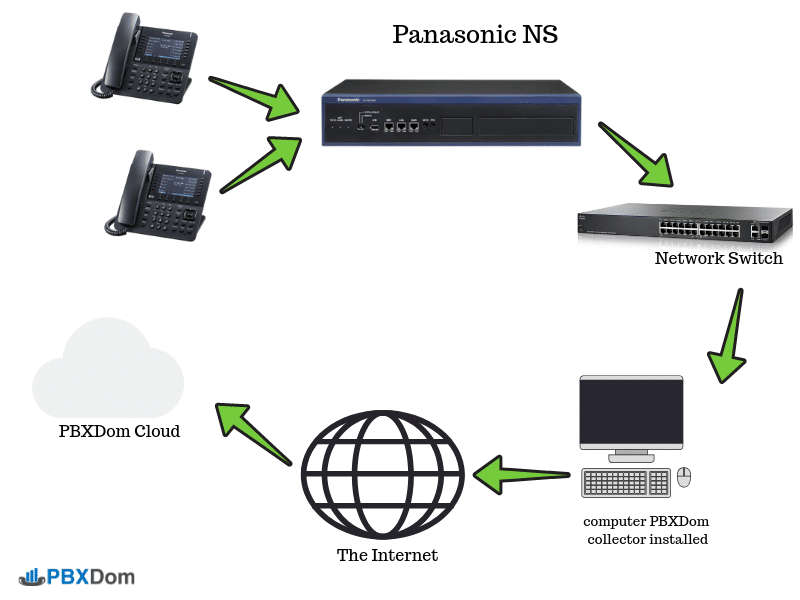
To set up your Panasonic NS Dashboard, go to the next step.
Step 3:
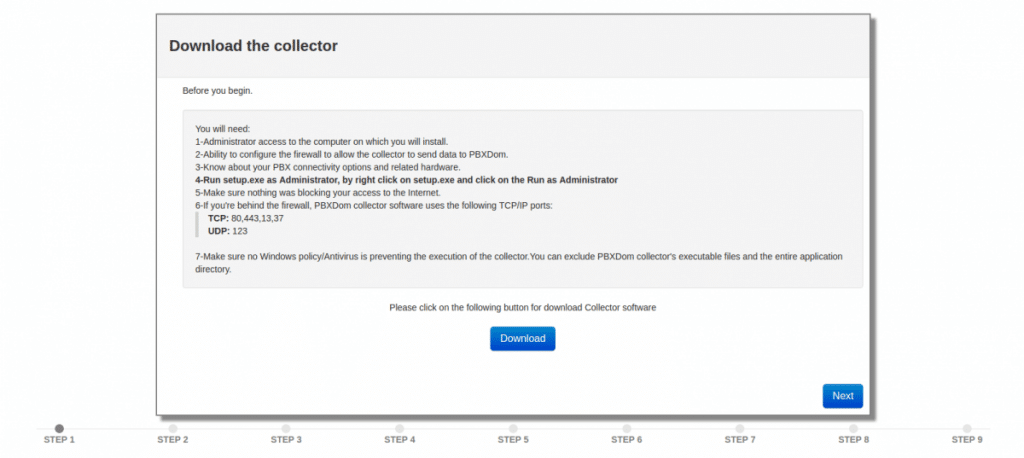
Before beginning the Panasonic NS Dashboard set up, you will need:
1-Administrator access to the computer on which you will install.
2-Ability to configure the firewall to allow the collector to send data to PBXDom.
3-Know about your PBX available connectivity options and needed hardware.
4-Run setup.exe as Administrator by right-clicking on setup.exe and selecting the Run as Administrator.
5-Make sure nothing is blocking your access to the Internet.
6-If you’re behind the firewall, PBXDom collector software uses the following TCP/IP ports:
TCP: 80,443,13,37
UDP: 123
7-Make sure no Windows Policy/Antivirus is preventing the execution of the collector. You can exclude PBXDom collector’s executable files and the entire application directory.
Step 4:
Download the Collector software by click on the Download button and go to the next step.
Step 5:
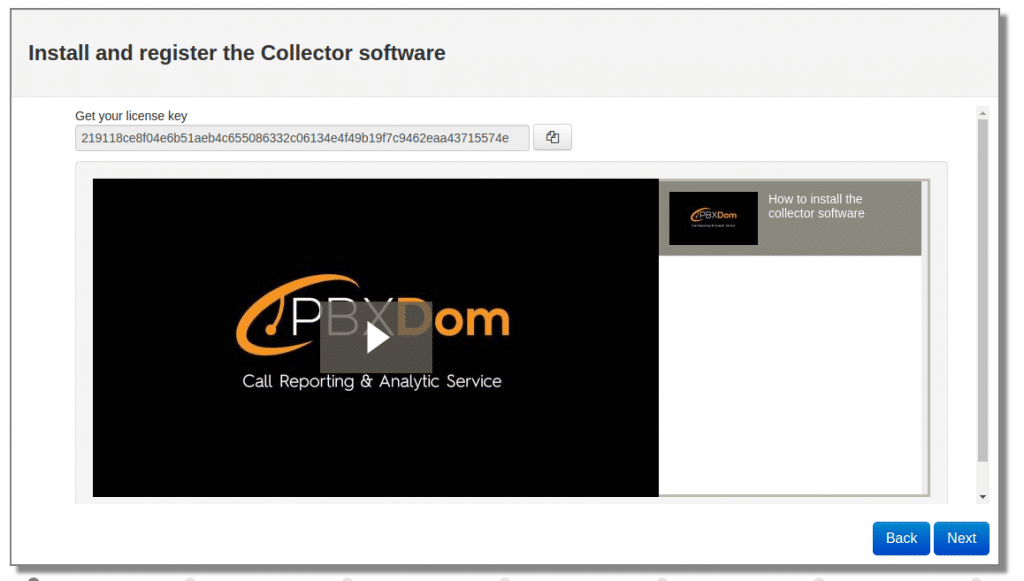
Install collector software, copy your license key, paste it into your collector, and press the register button. After your collector registered successfully, press the start button on your collector.
Please watch the following video to know how to install the collector data.
Step 6:
In the next step, you will see the following window.
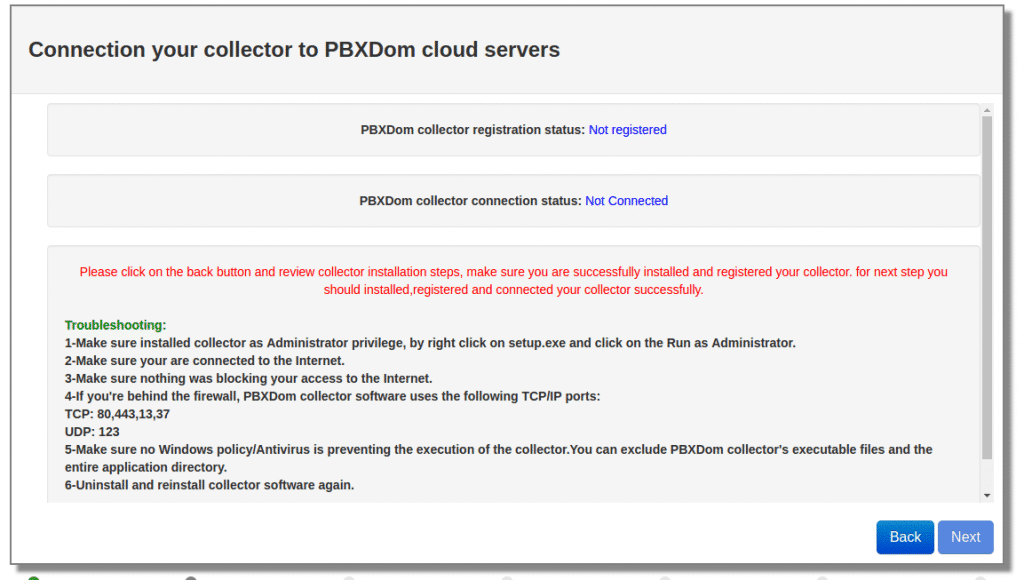
If you successfully registered your collector and started it, the PBX collector registration status changes from Not registered to Registered and collector connection status from Not connected to Connected like the following window after a few seconds.
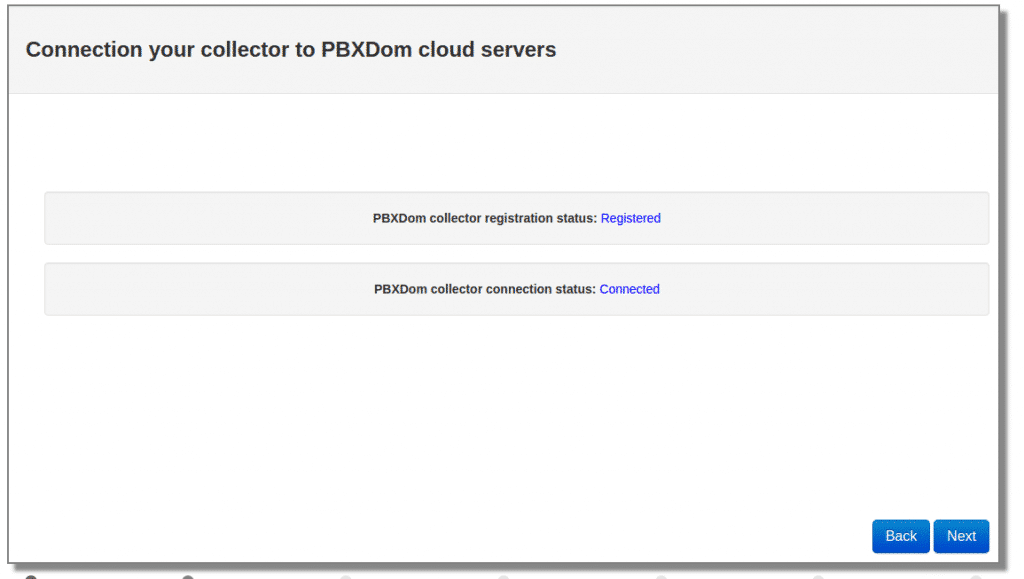
Now you can click on the Next button.
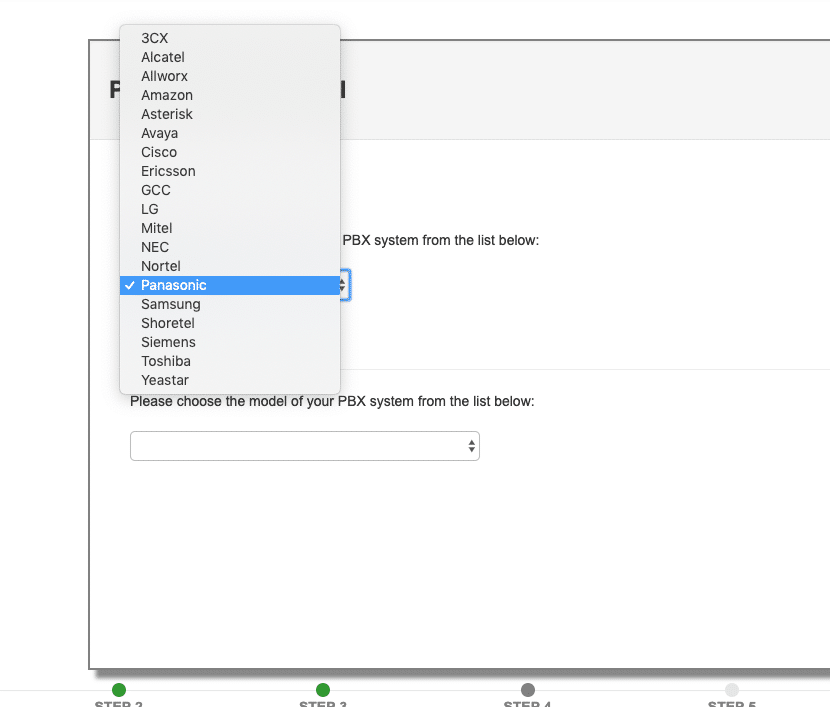
Step 7:
Select Panasonic from the vendor list.
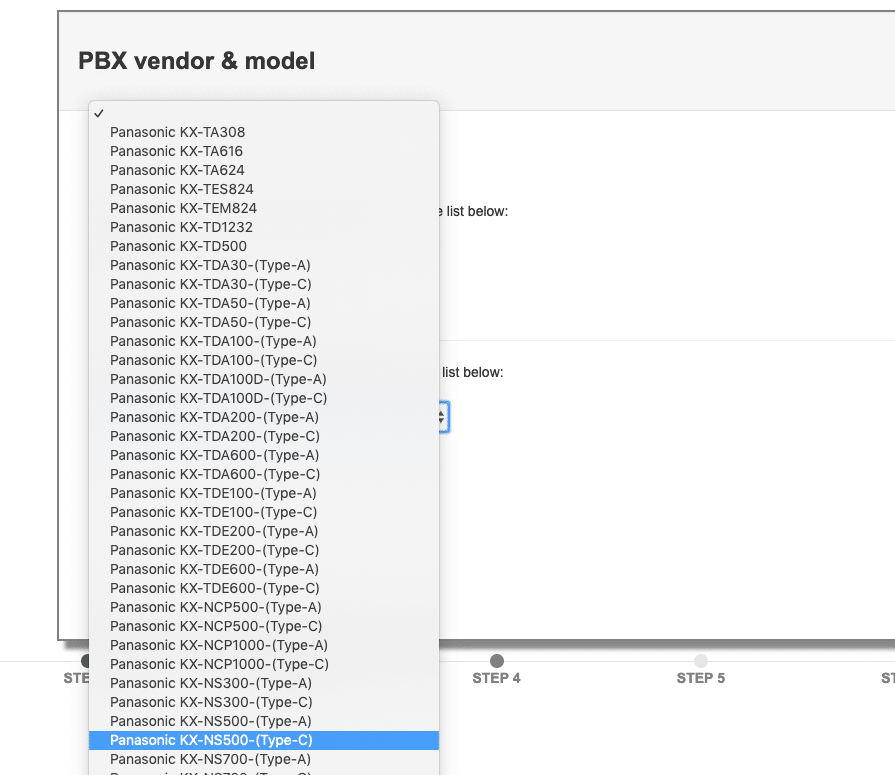
Select the Panasonic NS series matched with your system from the model list and click on the Next button.
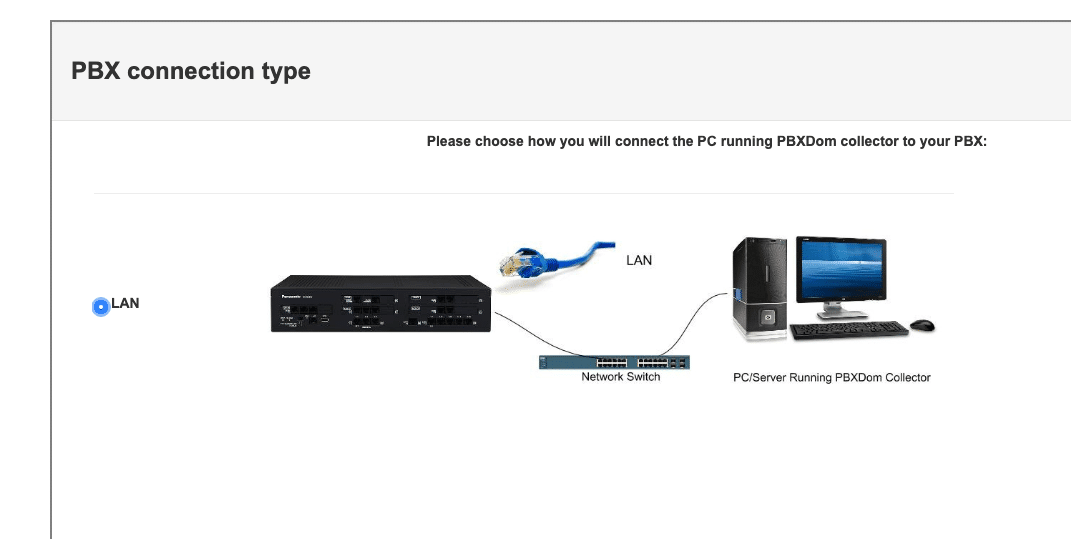
Step 8:
Click on the LAN connection and click on the Next button.
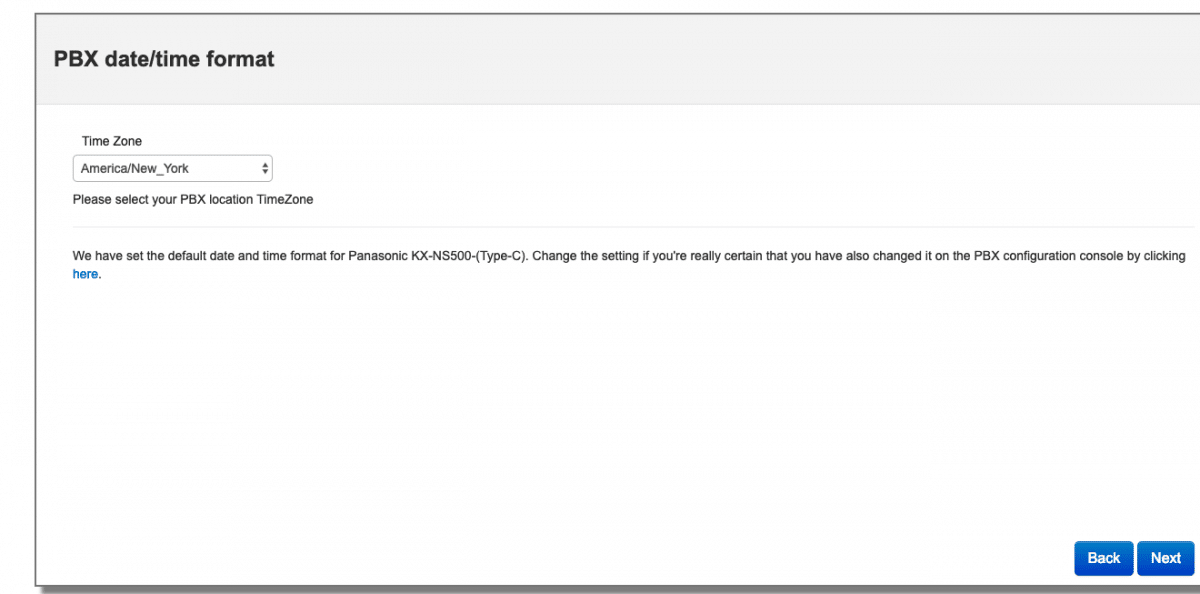
Step 9:
Select only your time zone and leave other settings as set by default.
Step 10:
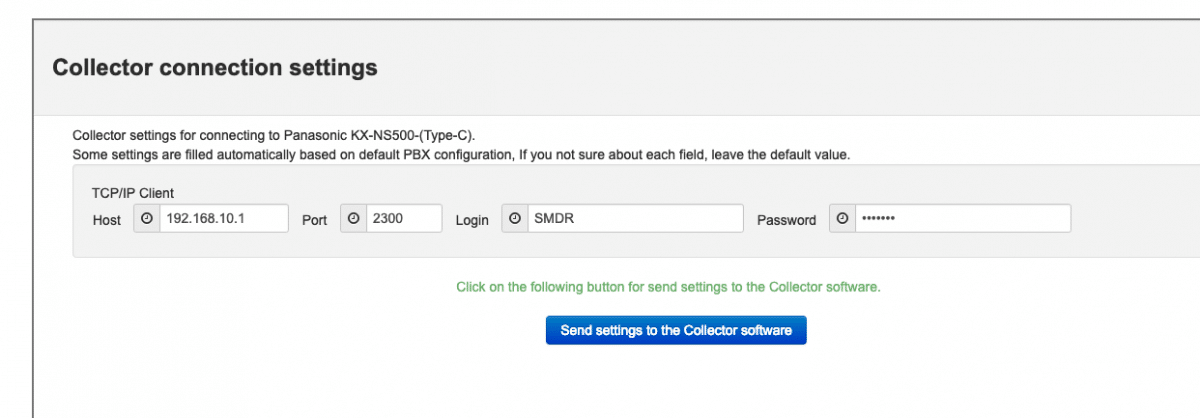
PBXDom collector automatically connects to your Panasonic PBX and collects the SMDR information, enters your Panasonic NS IP address, and leaves other settings as set by default. Finally, to send settings to your collector, click on the “send settings to the collector software button.”
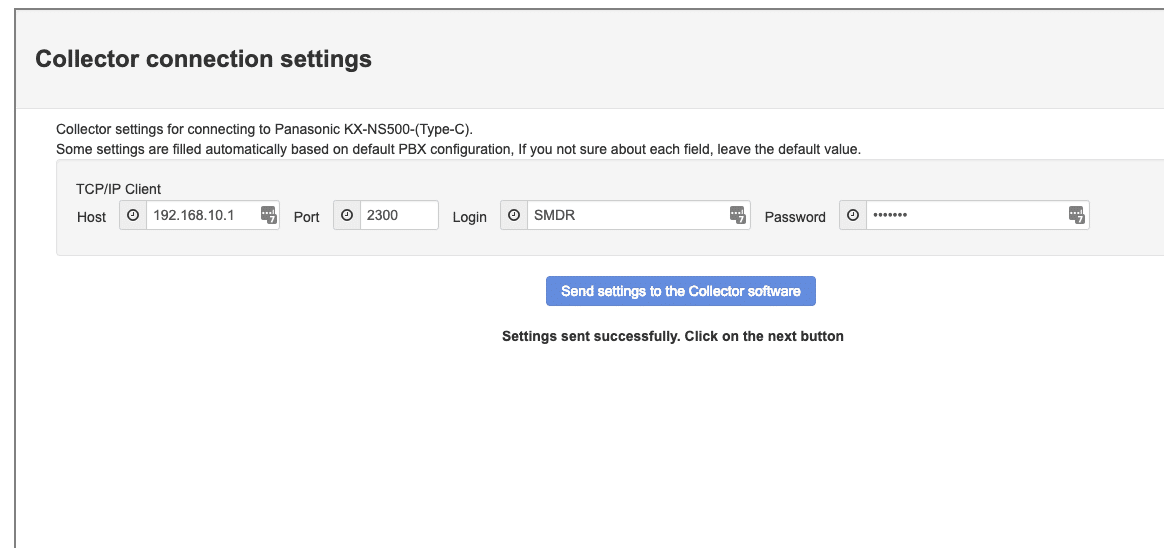
After the settings are successfully sent to your collector, you should see the following message, and you can click on the Next button.
Step 11:
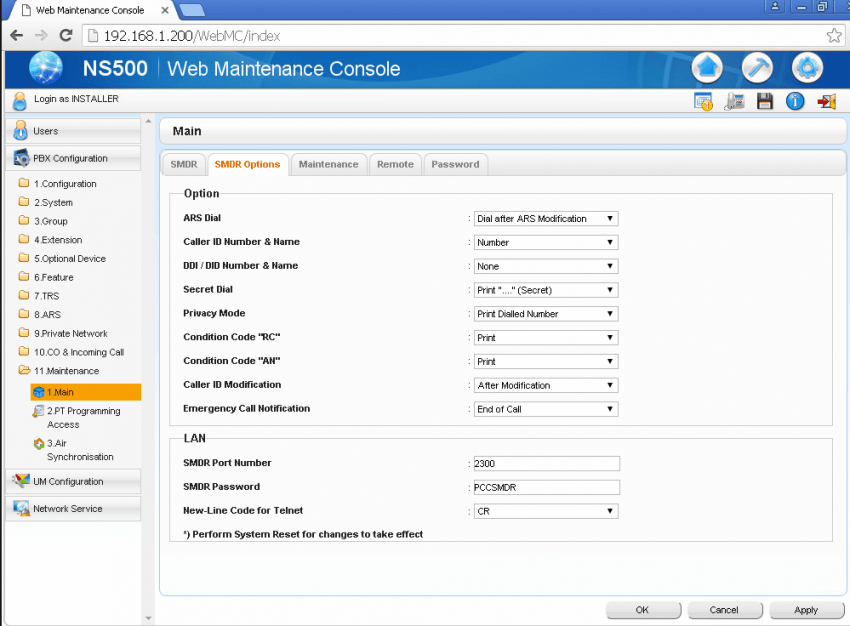
In this window, you can find information about how to configure your Panasonic NS series.
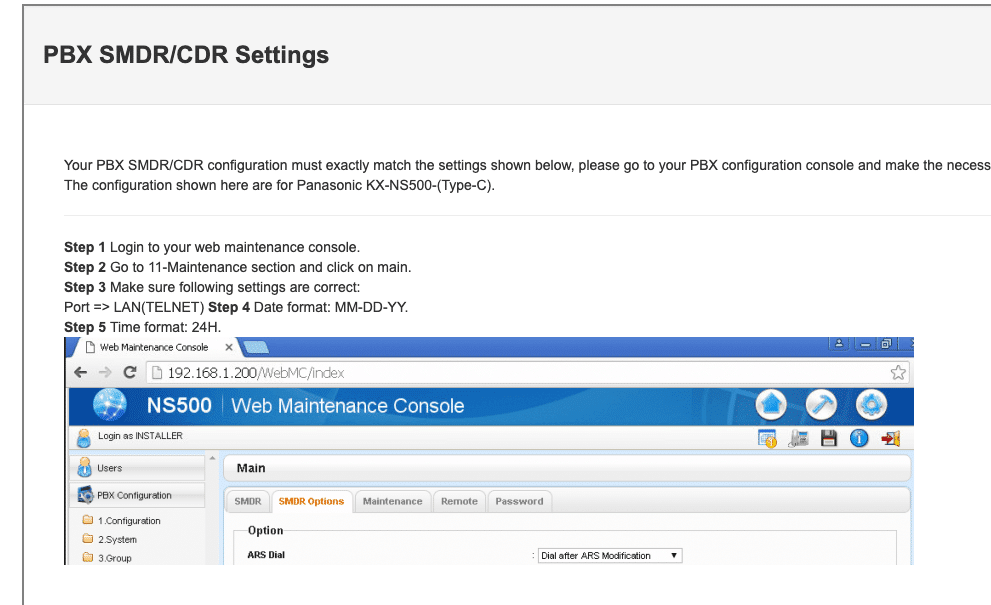
For configuring your Panasonic NS series SMDR follow the instructions:
Step 1 log in to your web maintenance console.
Step 2 Go to the 11-Maintenance section and click on main.
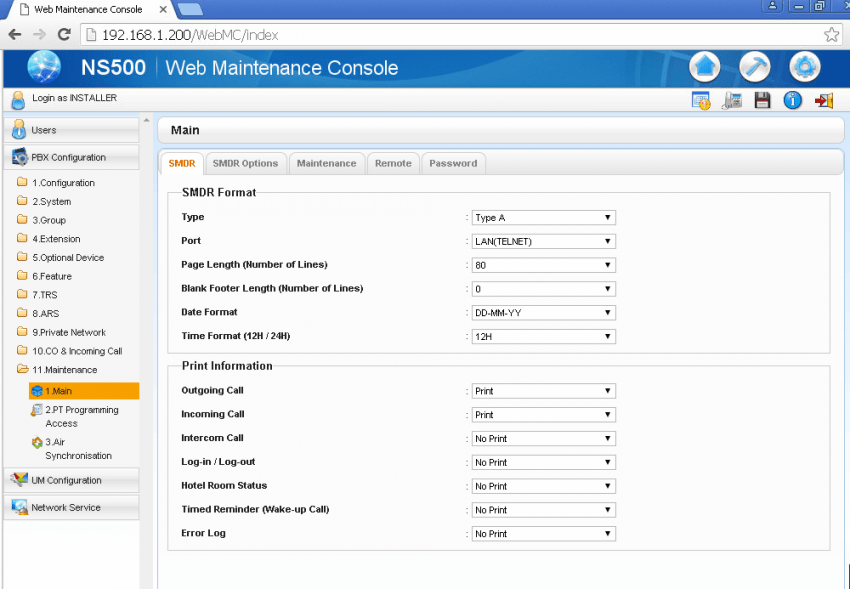
Step 3 Make sure the following settings are correct: Port => LAN(TELNET)
Step 4 Date format: MM-DD-YY.
Step 5 Time format: 24H.
Notice: Your SMDR Type, Date, and Time format should be the same as the PBXDom side; for example, if you select NS-500(Type C), in SMDR settings, you should choose Type C, and your date time format should be the same for both sides PBXDom and Panasonic.
Step 6 Click on the SMDR Options tab.
Step 7 Make sure about SMDR port number and SMDR password…
Notice:
1-SMDR user and password are different than the Panasonic web console login.
2-Default SMDR user and password is:
Username: SMDR
Password: PCCSMDR
3-PBXDom automatically fills the default value for you during the setup process, so change the values if you are sure you changed them before.
Step 12:
In the next window, you should wait till all the call data get loaded to your account.
To make sure everything works, click on the “Sync settings” button on your collector.
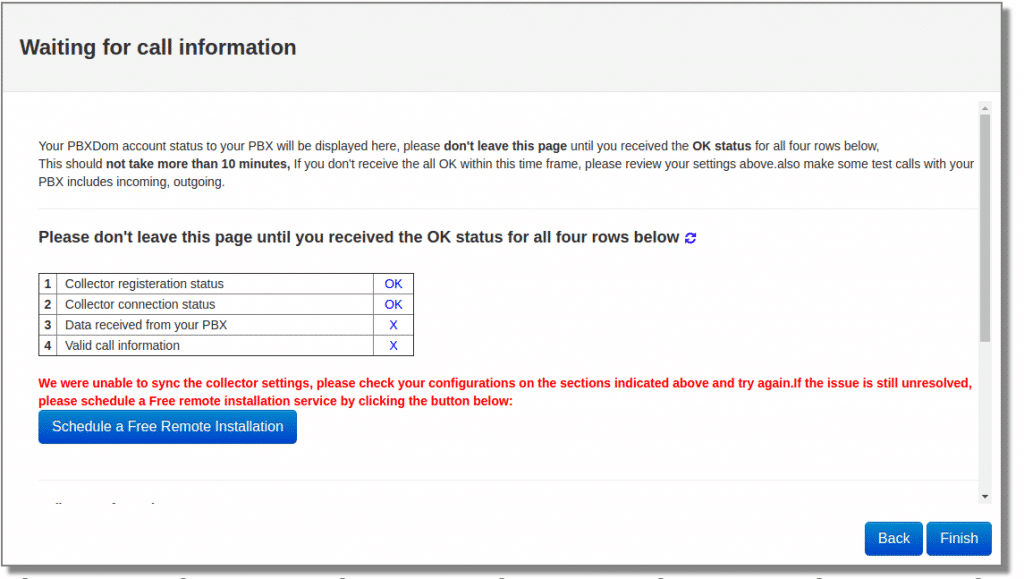
Please don’t leave this page until you receive the OK status for all four rows below,
This should not take more than 10 minutes. If you don’t notice all the OK within this time, please review your settings.
Also, make some test calls with your PBX to include a few incoming, outgoing.
If the issue is still unresolved, please schedule a Free remote installation service by clicking the button.
After a few minutes, you should receive 4 OK and windows change to the following message on your screen.
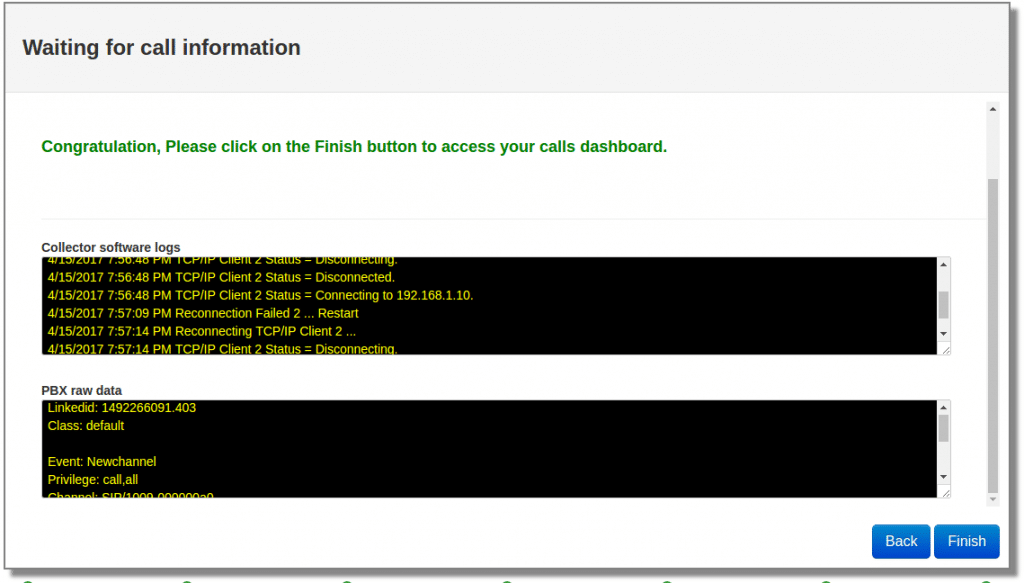
Congratulation, Please click on the Finish button to access your Panasonic NS series Dashboard.
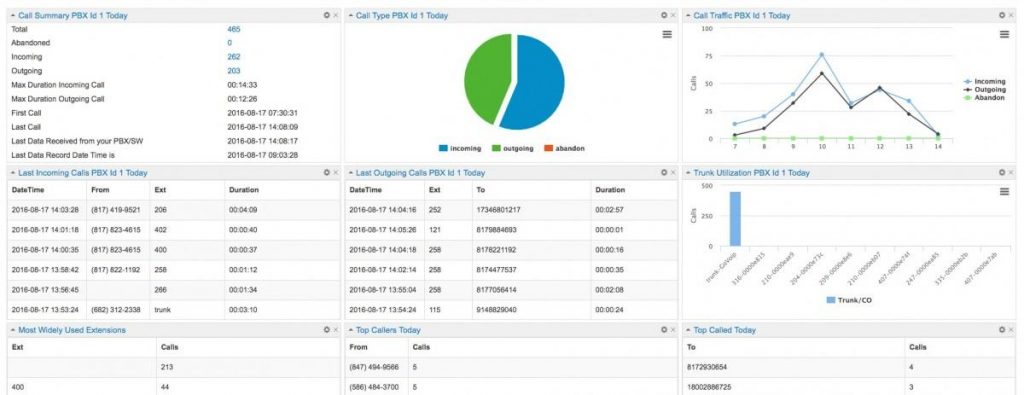
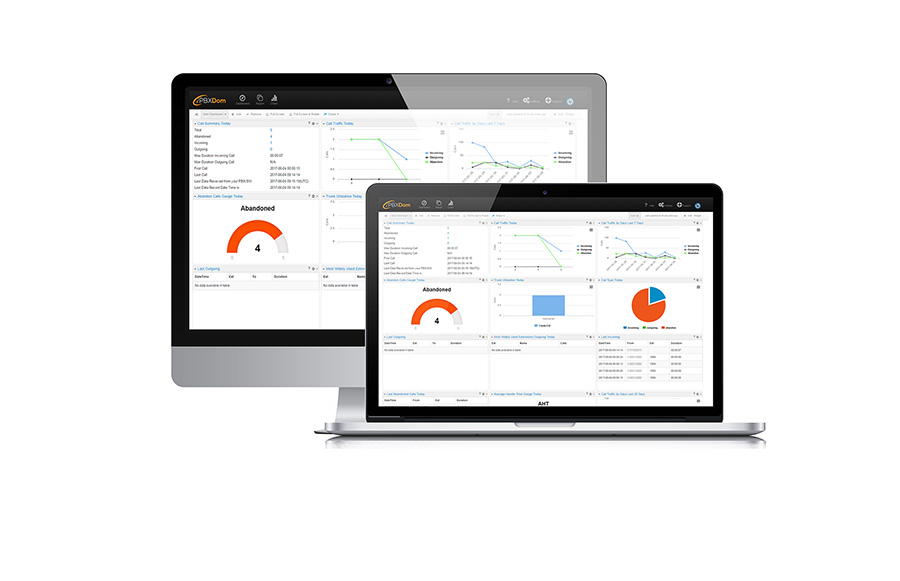
Panasonic NS300/NS500/NS700/NS1000 Dashboard
You can make as many as 50 dashboards as you want in the PBXDom. You can add up to 12 widgets in each dashboard from more than 70 available widgets.
You can find more information about the dashboard and widget on the following page:
Also, you can share a read-only dashboard all across your entire organization.
Finally, you can find a complete set of reports, charts in the reports and chart section.
I hope this article helps you find a straightforward solution for making a dashboard for Panasonic PBX systems and deep insight into your voice traffic in your organization.